
The comment section is one of the most attractive pieces of WordPress. It gives visitors a chance to voice their opinion while inspiring conversation. However, it’s also one of the most targeted parts of a site for spam comments and links. Luckily, additions like Disqus can make the difference.
Disqus is a comment system that not only gives you a lot of control over the comment section, it can also boost social interaction. As a stand-alone system, it can be great for sharing ideas and sparking interest in your content. It’s also an incredible system for keeping spam at bay.
Instead of disabling WordPress comments, you can offer another option for your visitors. After all, the purpose of this section is to inspire conversation. And this may help boost that interaction on your website.
In this tutorial, we’re going to show you how you can add this system to your WordPress website. It’s a useful platform to help keep the comment section clear of debris while giving you a great system for moderation.
Adding Disqus to Your WordPress Website
Before you can add Disqus to your site, you need to have an account. Visit this plugin’s website and click the “Get Started” link located in the top right. Then, you need to:
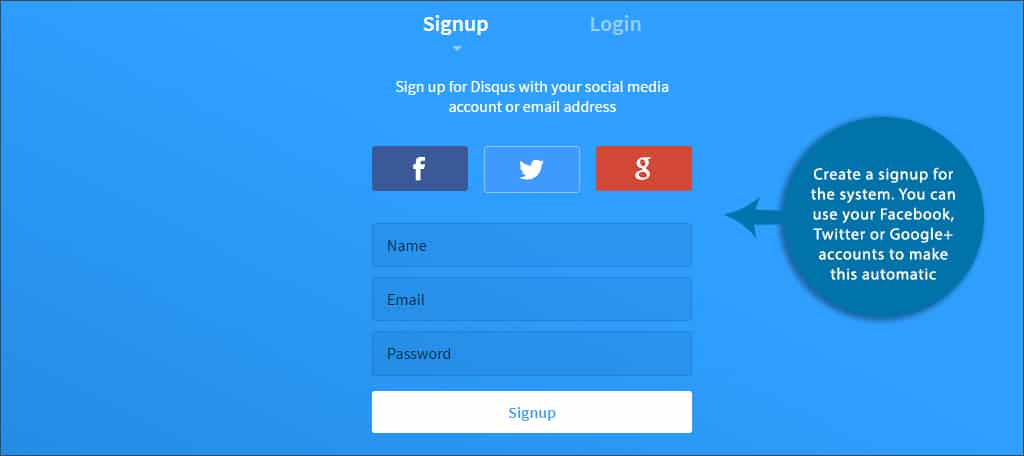
Step 1: Create a signup for the system. You can use your Facebook, Twitter or Google+ accounts to make this automatic. Otherwise, input the email address you wish to use.
Step 2: After a few minutes, you will receive a verification email. Click the link within this message and your account will be fully activated.
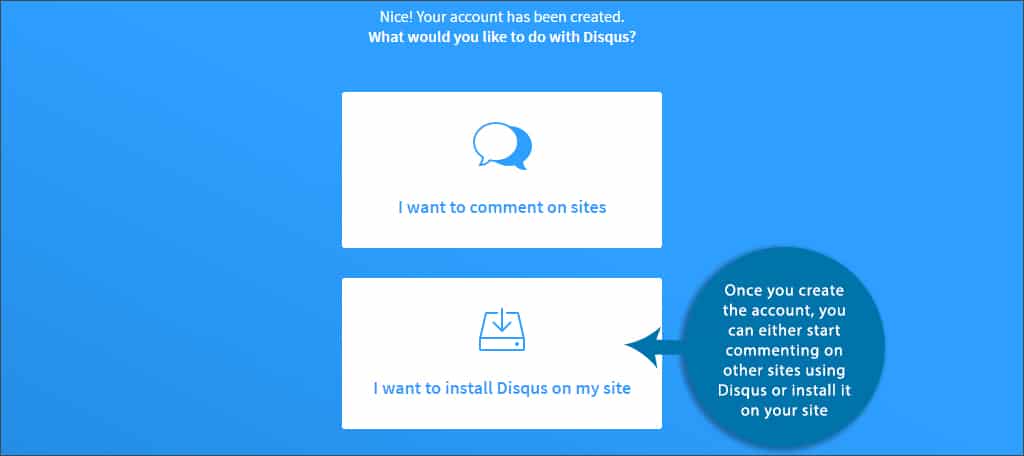
Step 3: Once you create the account, you can either start commenting on other sites using Disqus or install it on your site. Click the link to install it.
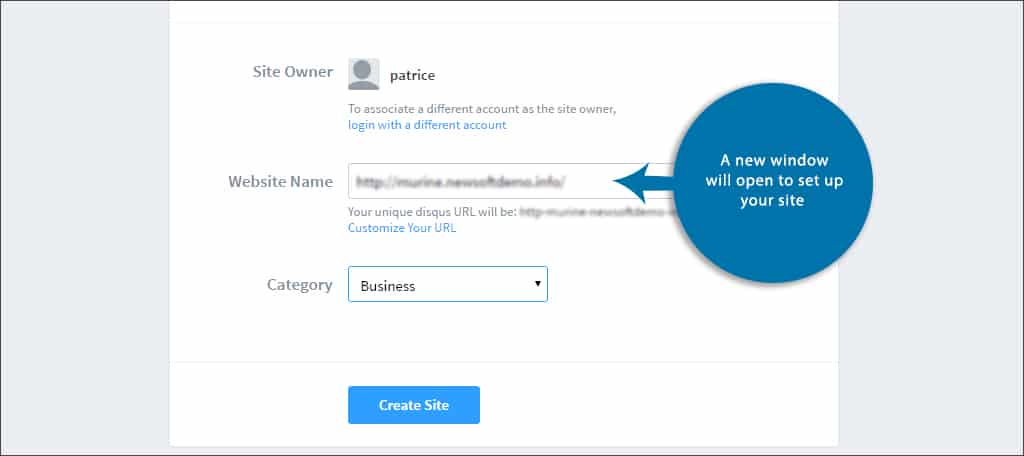
Step 4: A new window will open to set up your site. You will need the name of your website, a custom subdomain name for your account and a category so others can find your content. Once this is completed, click the button located on the bottom to continue.
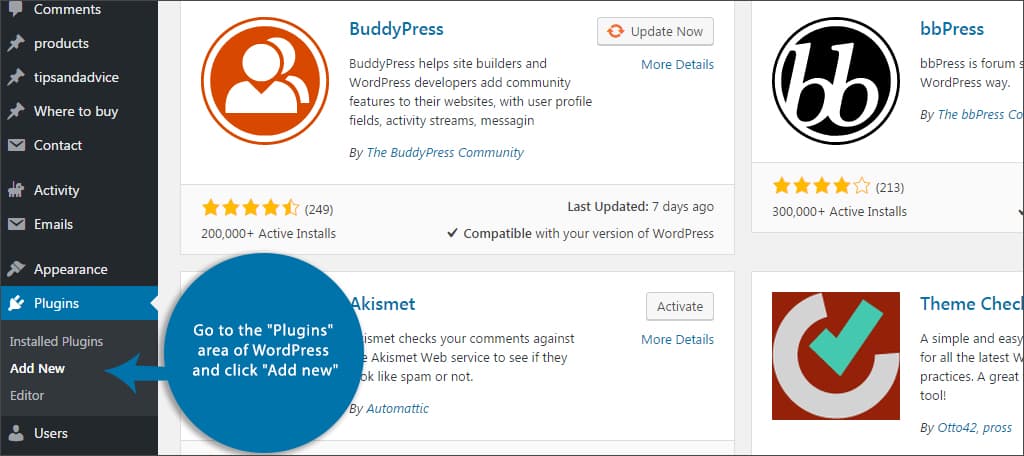
Step 5: Go to the “Plugins” area of WordPress and click “Add new.”
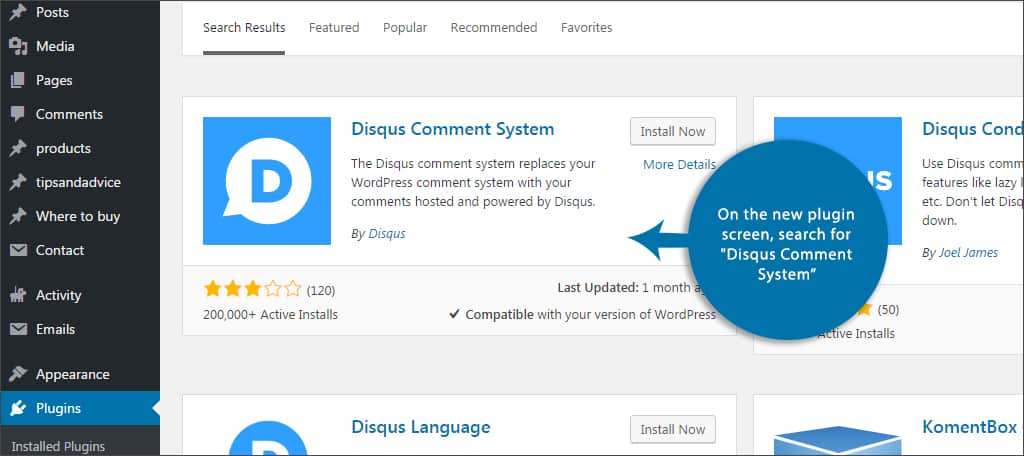
Step 6: On the new plugin screen, search for “Disqus Comment System.”
Step 7: Install and activate this plugin.
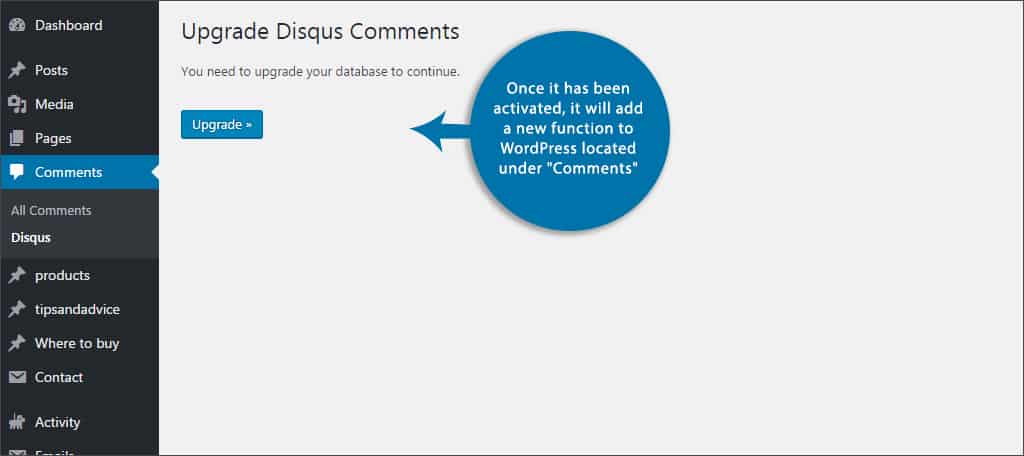
Step 8: Once it has been activated, it will add a new function to WordPress located under “Comments.” Click the link under this section to access the settings for Disqus. NOTE: It may ask you to upgrade your database. If so, you will see a button to “Upgrade.” After clicking this option, the installation window will open.
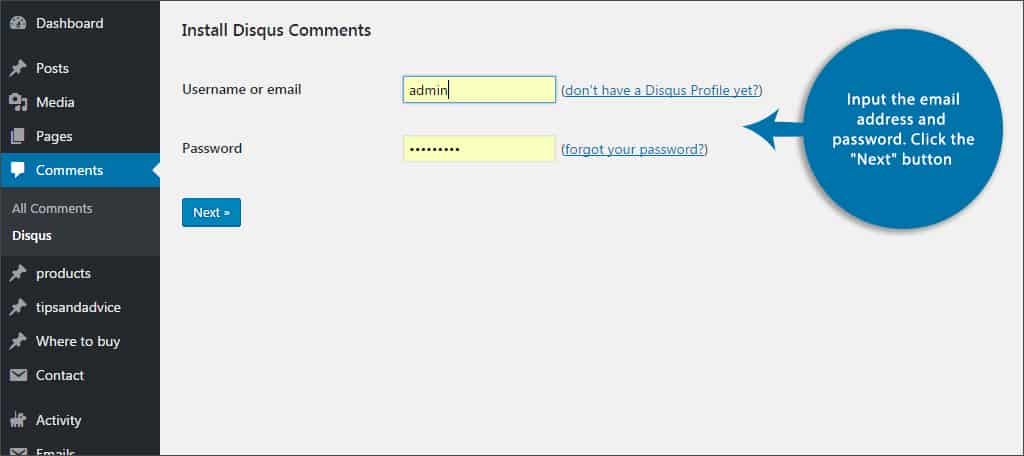
Step 9: Input the email address you used to create your account.
Step 10: Input the password you used as well.
Step 11: Click the “Next” button.
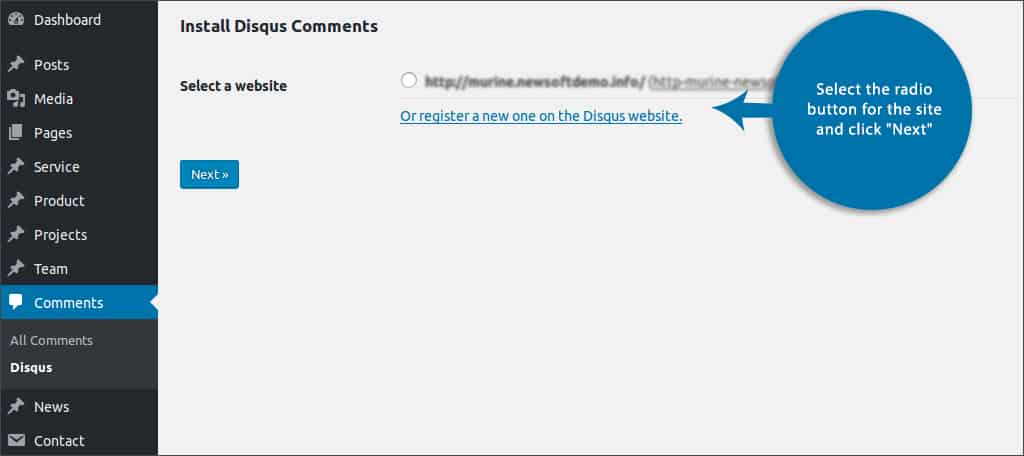
Step 12: When you log into your account, you will be asked to select a website. Choose the one you just created back in step 4. It may be the only option you have available. Select the radio button for the site and click “Next.”
Step 13: Disqus is now installed on your website.
This plugin will automatically override the default comment ability of WordPress. You don’t have to make any changes to the system and it will be in effect as soon as you finish the above steps.
How do you moderate the comments with Disqus?
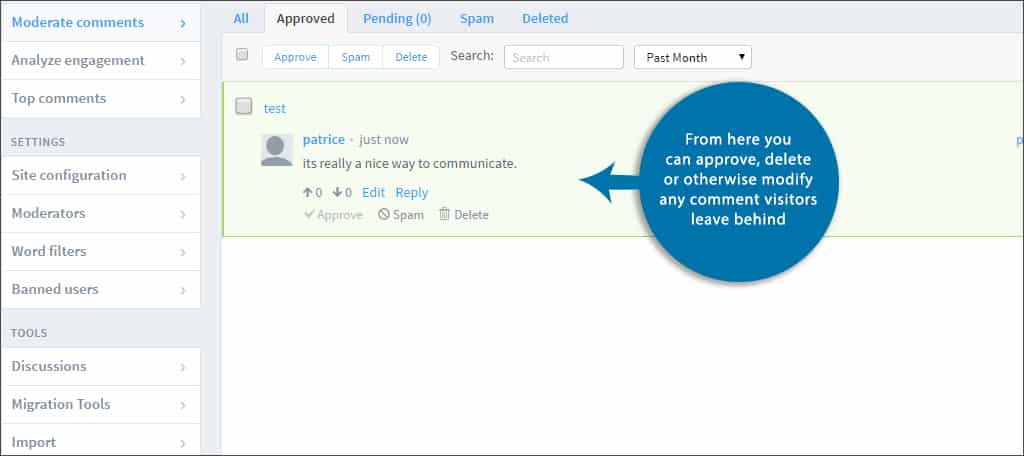
Moderating comments is relatively straightforward. However, it’s not accessible through the admin panel in WordPress per se. Go to the “Comments” section and click on Disqus. You will see a button that will take you to the moderation panel of your account. Click this and it will open a new tab in your browser where you can approve, delete or otherwise modify any comment visitors leave behind.
What if you want to keep the old comments from WordPress in Disqus?
Disqus has the feature of importing your old comments into the system. This will let you keep that content available for all to read. To do this, you click on Disqus from the “Comments” section in WordPress. On the top right side of the screen, you’ll see a link for “Plugin Settings.” Click this and a new window will appear.
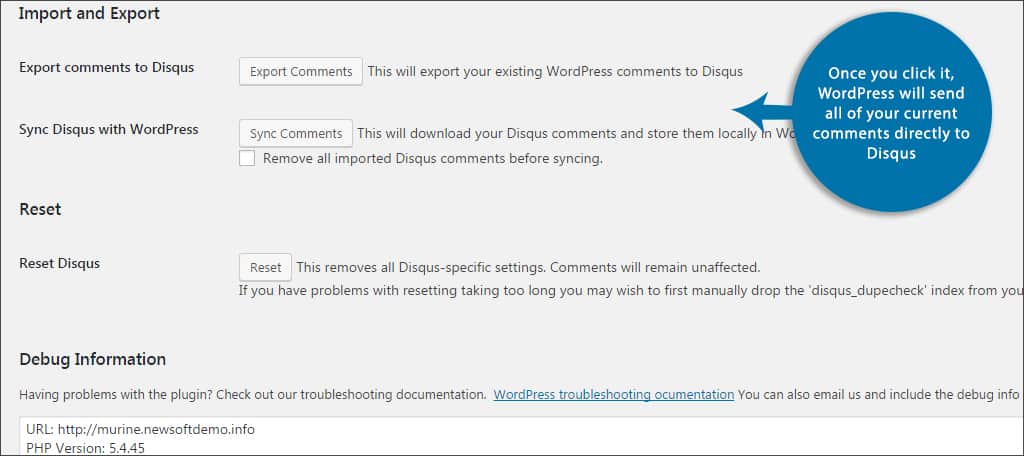
Scroll down until you see the area for, “Import and Export.” There, you will see a button to export the comments. Once you click it, WordPress will send all of your current comments directly to Disqus.
On a side note, you can also “Sync Comments” from your account and store them locally in WordPress. This is helpful should you decide to eventually stop using Disqus.
What are the benefits of using Disqus as opposed to WordPress comments?
Disqus can help reduce the amount of spam your site experiences in any given day. This is because it requires a log in from it, Facebook, Twitter or Google+ in order to leave a message. It will prevent most automatic bots from leaving spam messages.
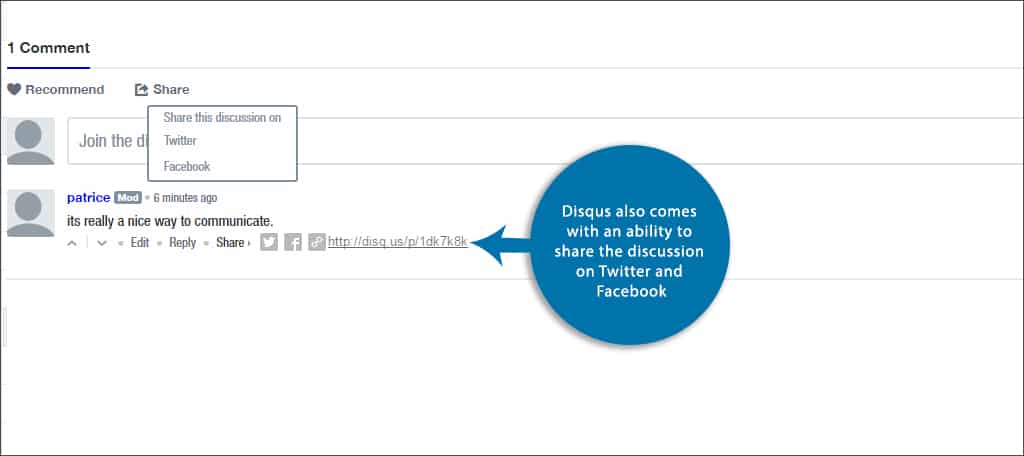
Disqus also comes with an ability to share the discussion on Twitter and Facebook. In essence, it’s a small marketing ability that has potential to boost your social media presence. You’ll also notice a “Recommended” link that lets those who follow the user’s account know that the webpage is worth reading.
This system is equipped with a subscribe link that lets people stay apprised of your content. When a visitor clicks this link, they are provided with the option to input their email address.
Disqus is more of a connection to a community than just a comment system. It’s like a social media hub that allows others to fully envelope themselves within the content of each site on the network.
How much customization is available when using this platform for comments?
The admin panel of your moderation screen for Disqus gives you many options to make the experience more unique. You can change the default avatar image for default commenters, change the color scheme or even flag the page as having adult oriented content.
Image Control
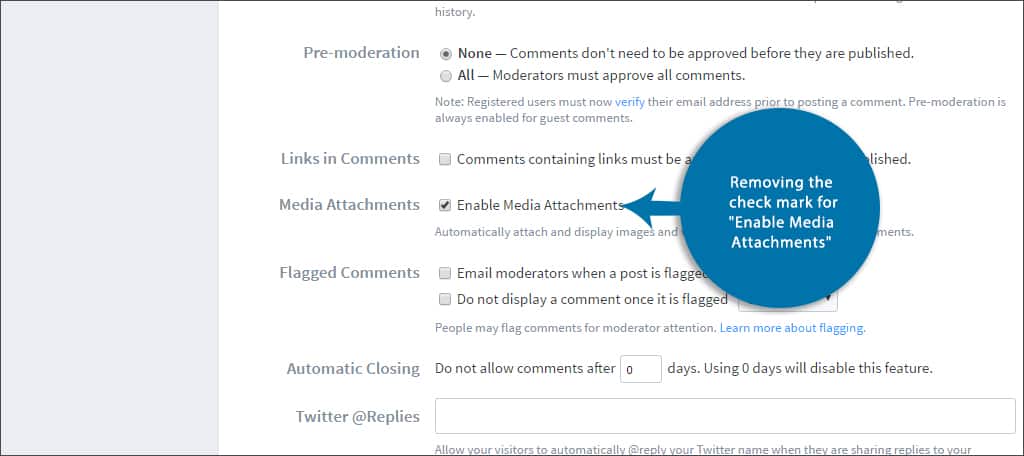
By default, Disqus offers the ability to upload images. However, it can be disabled in the admin panel by going to “Community” and removing the check mark for “Enable Media Attachments.”
Twitter Feed
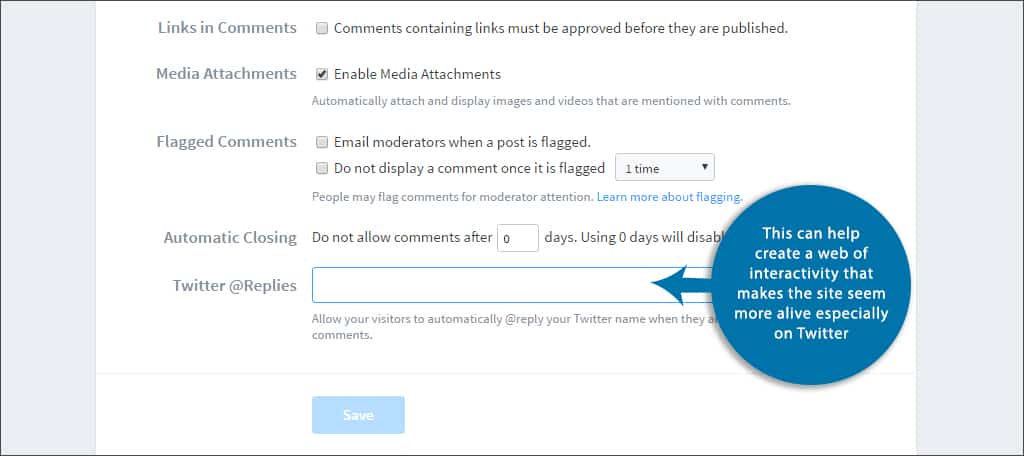
For those who have a Twitter handle linked to the website, you can set Disqus to also post mentions automatically when they reply to comments. This can help create a web of interactivity that makes the site seem more alive, especially on Twitter.
Guest Posting
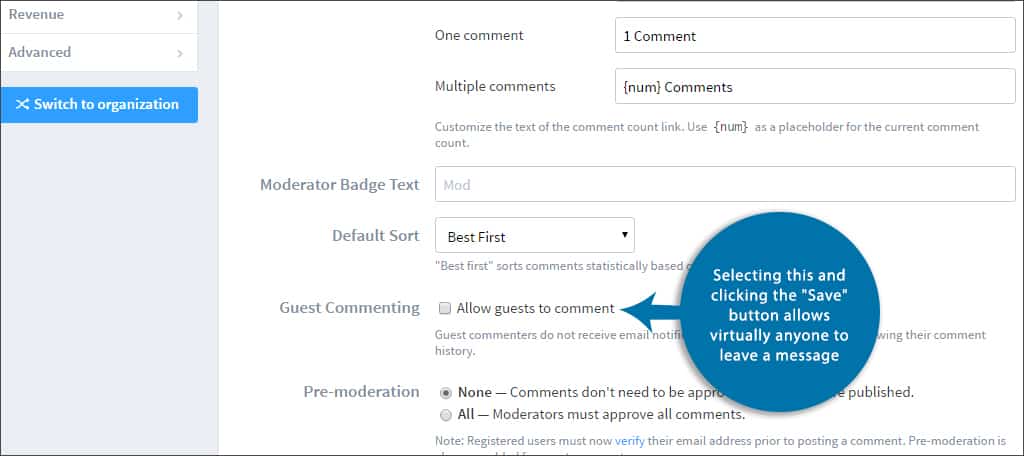
Although Disqus forces people to log in with accounts before leaving a comment, you can change this in the admin panel. This is located under “Community.” There is a check box available for, “Allow guests to comment.” Selecting this and clicking the “Save” button allows virtually anyone to leave a message. However, this would open the doors to spam and other questionable content.
Changing Languages
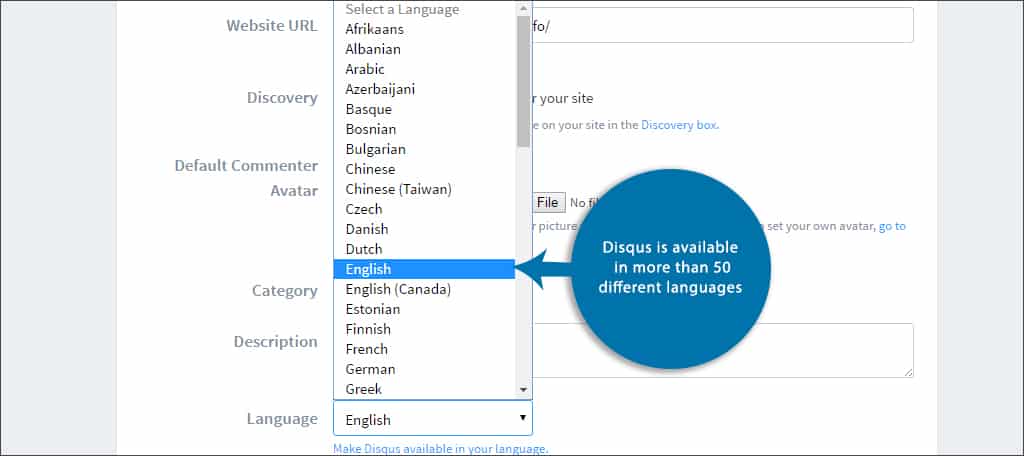
Disqus is available in more than 50 different languages. Your preferences for this can be changed in the admin panel as well under the section for, “General.”
You don’t have to settle for the default WordPress comment section for your website. Although it works well, the opportunities and control provided by Disqus takes the process to a whole new level. Explore the potential of what this could deliver for your personal or business site and offer something different to your visitors.
What kind of a comment section do you provide for guests? How often do you have to deal with spam in the comment section of WordPress?