It seems these days people like to do renovations themselves if at all possible. Maybe this is something you are good at and want to share your knowledge with others. A great way to do this is to start a renovation blog.
Think about all the shows that have become popular over the years the have to do with renovations. From flipping houses to renovating certain areas of a home, these shows have grabbed on and held strong.
You may notice that all of these individuals have some sort of website or blog that is tied into the renovation show. Have you ever wanted to have your own renovation blog? You can use it to share pictures and stories of things you renovate, offer services, show videos, and teach others the process you go through.
If you want to create a blog about renovations, then you have come to the right spot. In the details below, you will find an easy to follow, step-by-step process that will put you on a path to creating your very own renovation blog.
Be sure to follow the steps in the order they are given, as this will show you the absolute easiest way to get your site up and running.
What You Need to Start a Renovation Blog
There are several things that go into creating a website. That being said, before we get to the actual build and design portion of the tutorial, let’s take a look at a great way to gather some other things you need.
Making a website checklist is a perfect way to get items listed that you want to have ready for your renovation blog. Of course, these things will differ from person to person based on personal choices. However, if you are having a hard time coming up with things, here are some suggestions as to what you should have ready for your website.
Renovation Blog Checklist
- Content (have some ready)
- Renovation Before and After Pics
- Videos
- Tutorial Content
- Log / Branding
- Post Schedule
- Services and Pricing (if applicable)
- Professional Email
- Domain Name (below)
- Web Hosting (below)
Having things like this in place will make the overall process of building your website smoother.
Get a Domain Name and Web Host
Now that you have a checklist down and have an idea of what you should have ready for your site, it is time to get a domain name and web hosting.
When choosing a domain name, you want to remember that there are millions of websites already online, so you may not get the exact domain name you want. If this is the case, try playing around with your wording some and see if you can find something that fits.
If this doesn’t work, then try using a different domain name extension. There are so many available now that you are sure to find something that will work for you.
You also want to find a fantastic web host. It’s ideal to find a company that will give you all the tools you need, including a domain name, to get your renovation blog up and running quickly and easily.
GreenGeeks has everything you need all in one place. Not only will you have every tool imaginable at your disposal, but you get the best customer service in the industry as well.
Furthermore, you can also get your domain name through GreenGeeks. Having everything housed under one roof will allow you easier access for all your tools.
Install and Use WordPress
Now that you have your domain name and web host taken care of, it is time to figure out what content management system, or CMS, you are going to use to build your renovation blog. While there are several really great CMS platforms available, I am recommending that you use WordPress for your website build.
WordPress is very user friendly. It is open-source, so thousands have contributed to it and millions more use it to build their own blogs and websites. Since it is so popular, you will never have to look too far to find tutorials and resources to help you along your journey.
It is also very secure. Yes, there are always other things you can do to make sure your WordPress website operates as secure as possible. That being said, the platform and code out of the box is very strong and very secure.
Finally, installing WordPress is as simple as a few clicks of a button. You can use the one-click installation method found in your web host cPanel. or you can install it manually. Either way, you will be up and running and ready to build in minutes.
Choosing a Theme and Plugins
When it comes to choosing the right theme and plugins for your renovation website, WordPress has you covered with both. There are a lot of different themes that you can use to take your site to the next level. The same can be said with plugins, as there are certain plugins every site should have in order to run smoothly.
However, you also want to look into themes and plugins that may be niche-specific. These can work to further expand your renovation blog into the site you have always dreamed about.
If you are having trouble finding a theme or plugin, here are some suggestions for you.
Hampton
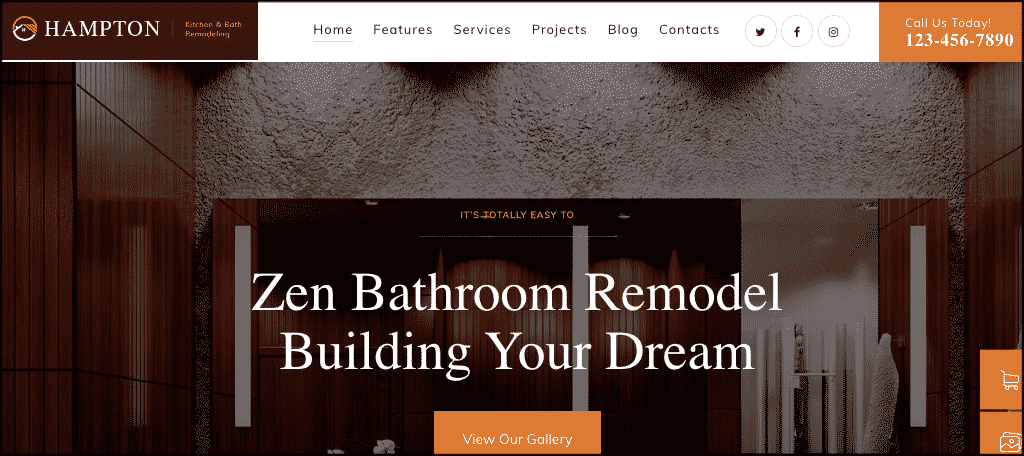
Hampton is a home design and renovation WordPress theme that is perfect for building your renovation blog. It comes with a ton of built-in tools, including sliders, a visual page builder, grids, and a booked appointments plugin. All-in-all, the theme gives you everything you need to build a great looking site.
Handyman
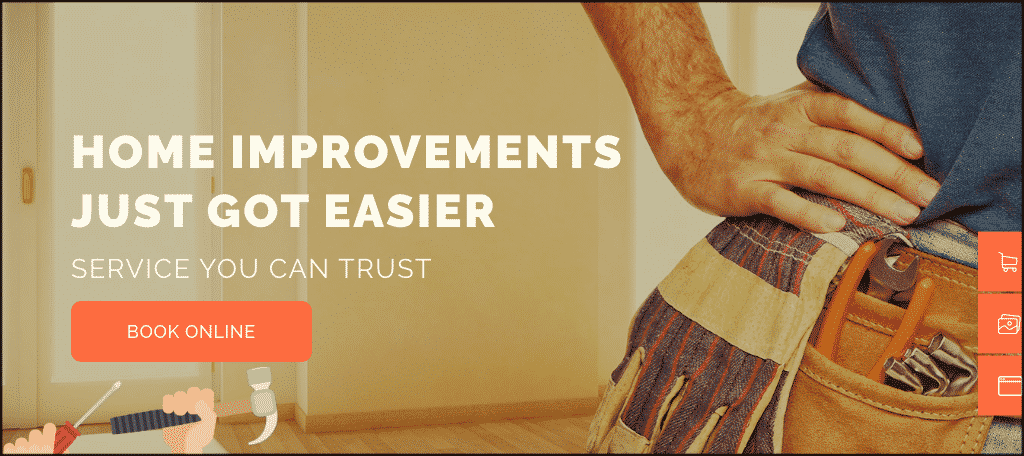
Handyman is another solid WordPress theme that can take your renovation blog to the next level. It has a modern and responsive design that allows you to build and create without limits. It is also fully mobile responsive. With a built-in booking system and Gutenberg compatibility, you will have a hard time finding a more appropriate theme for your renovation blog.
Easy Appointments
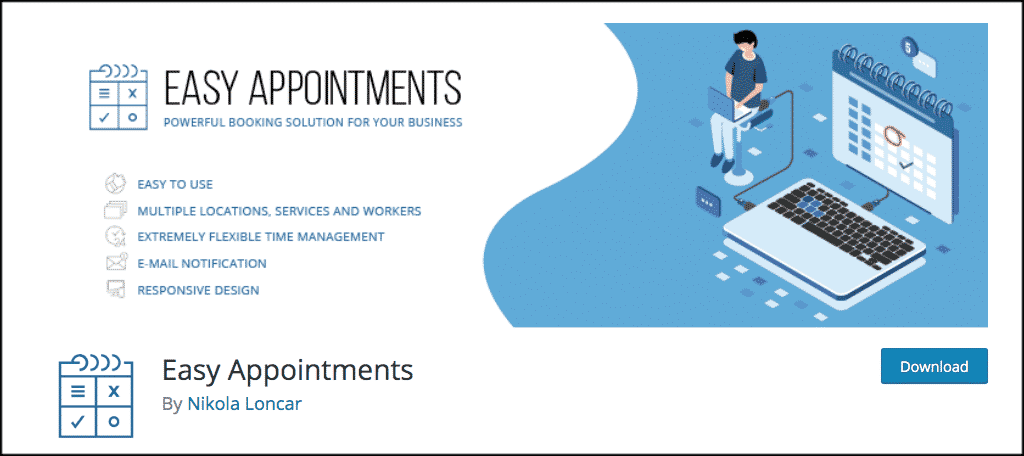
Easy Appointments is a fantastic plugin to have if you want the ability to take and book online appointments from your renovation blog. The plugin is very lightweight, easy to use, and easy to setup. It comes with a lot of options and is the perfect plugin to have if your theme does not have an appointment system built-in.
Easy Video Player
Chances are you will want to stream and embed videos on your site of all the before and after renovation work. This is where Easy Video Player comes in. This is a very user-friendly plugin that showcases your videos in a number of ways. You can upload full files, or use embeds to display your video library.
Marketing Your Renovation Blog
At this point, you either have your site already up and live, or you are in the process of getting it there. Once your renovation blog is up and running, you will want to look into some different ways of marketing it and getting the name out there to the masses.
There are several really great marketing avenues you can use to accomplish this. You may already have something in mind, if so, fantastic! If not, here are some marketing suggestions you can use to help push your renovation blog.
- Build Social Media Pages
- Run Ads
- Have Social Share Buttons
- Build an Email List
- Allow Guest Posts
- Blast Your Videos and Content Out
- Have a Prize Giveaway
Conclusion
Becoming a renovation blogger may take some time, but it is not impossible. Knowing and understanding the steps you need to take to create a renovation blog will give you a leg up on everyone else that is trying to go in blind.
I hope the guide above was easy to follow and understand. Remember, perform the steps in the order they are given as this makes the process as easy as possible. Now go start building, renovating, and sharing your experiences online with the world.
Very educative article. I am happy reading it.
Thank you for providing such detailed information and guidelines.
You’re very welcome.
I might use Handyman for my next website now!
Handyman is a nice plugin to use for renovation themes. Especially since it comes with the booking plugin already built in.