Feedback is something we always want to have from our website users. Despite the fact that sometimes feedback can be negative, it helps you understand what your site is doing well, what it isn’t, and things you might want to change. Creating an instant feedback form in Joomla is a great way to interact with your site users.
Today, I am going to show you how to add a free feedback form in Joomla with the help of a smooth little extension. This means that you don’t have to write your own code from the ground up or make huge changes to your website.
Let’s take a look at the extension and see all that is has to offer.
Stomt Feedback
Stomt Feedback is a smooth, lightweight, easy to configure Joomla extension that will allow you to add a feedback form to your website using a few different methods. Perhaps the best thing about this particular extension is that it gives you the ability to allow site users to provide “instant” feedback.
Adding a feedback form is also a perfect way to get Joomla testimonials.
Installation of the extension is simple and easy, and it will only take you a couple of minutes to do. Once it is installed and activated, you will have the ability to add an instant feedback form or button to your Joomla website.
The extension is customizable, giving you the ability to match the button or form to the look of your site.
As stated above, you can add this free feedback form in Joomla using three different methods:
- Feedback Button
- Creation Form
- Inline Feed
Feedback Button: Easily add a one-click instant feedback button using your STOMT Appid in the options to get started.
Creation Form: Instantly engage with your website community and customers, getting information, feedback, and even testimonials. All you have to do is embed an element with the id stomt_create in the position or area of the site where you want the form.
Inline Feed: Allow users to vote for ideas, give feedback, and connect using the inline feed option as well. Simply integrate it by adding an element with the id stomt_feed to your post or page.
Basically, Stomt gives you everything you need to create an instant feedback form or button on your Joomla site and make it fully customizable.
Add Instant Feedback Form in Joomla
Let’s take a look at how to get the extension installed, running, and configured on your Joomla website. Follow the steps as they are laid out and you should have a fully customized feedback button and/or form successfully running on your Joomla site.
The first thing you want to do is get the extension installed and enabled.
Step 1: Install the Extension
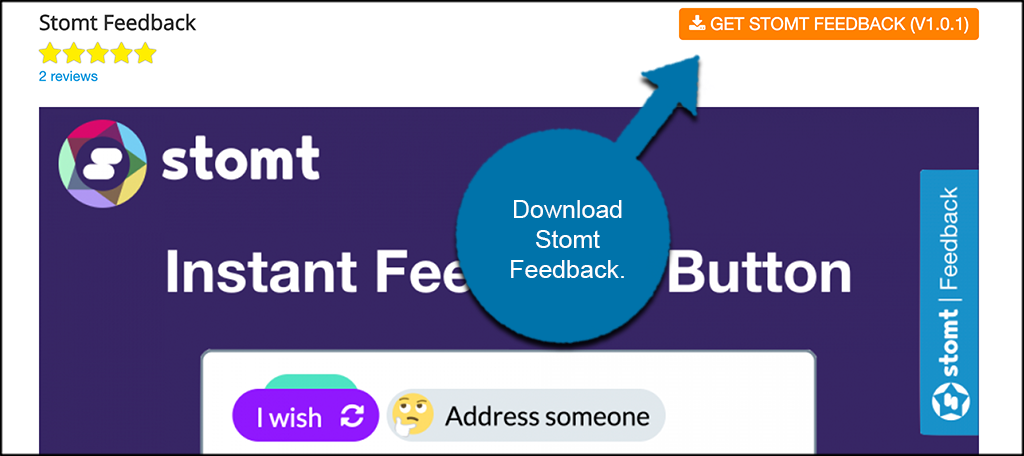
Before you can start adding feedback forms Joomla for your site users to interact, you first need to install and enable the extension. You can easily do this by downloading it off the extension homepage onto your machine.
Find the main download button on the top right of the extension homepage and click on it to download.
Note: Oftentimes, Joomla extension downloads will have you go through a process of bouncing to another page to get the extension. In this particular case, it will download directly to your machine.
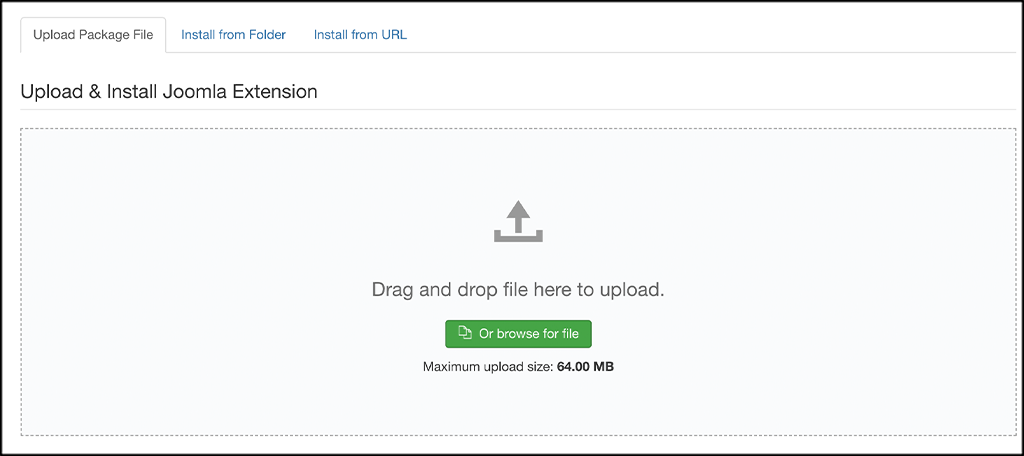
Now that you have downloaded the extension to your computer, go ahead and drag and drop it into the file upload box located in your Joomla control panel area. Simply click on the “Install Extensions” tab located in the left sidebar area of the control panel.
Note: You can also browse for the file and upload it that way if you prefer. Joomla also gives options to install from a folder or from a URL, but the process below is easiest.
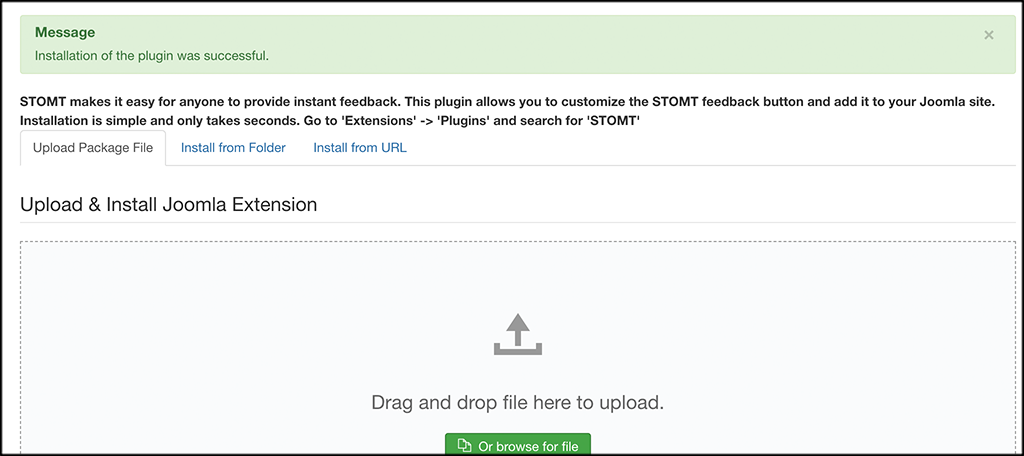
Once the extension has been installed you will get a green box message. This lets you know that installation was successful.
Step 2: Enable the Extension
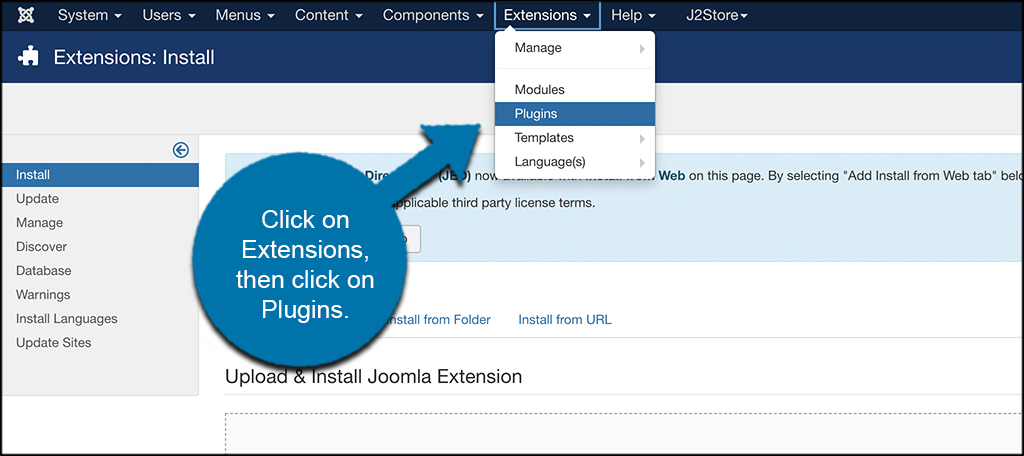
Now that the extension has been installed, you have to activate or enable it. On the top menu bar click on Extensions > Plugins.
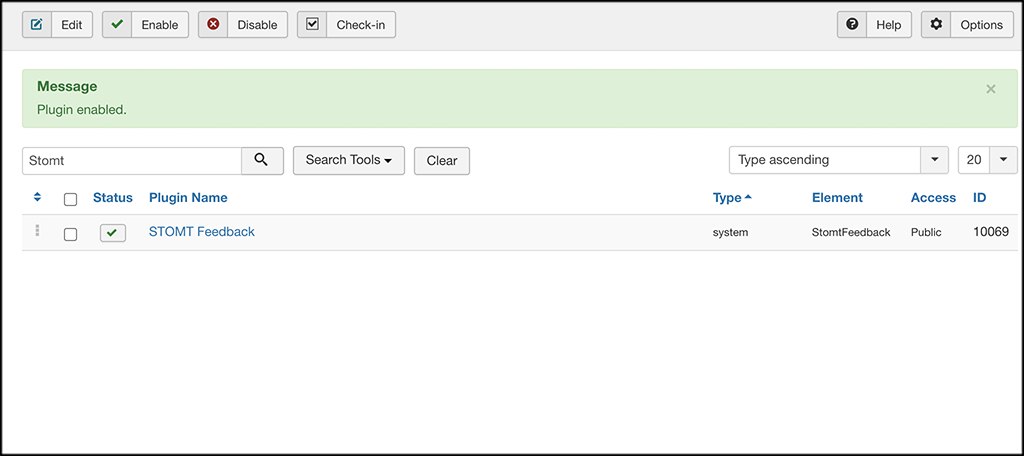
Search for the Stomt extension you just installed.
If it has a red circle with a white “x” in it, click the icon to enable the plugin. If the icon has a green checkmark, it means it’s already enabled and the extension is live on the site.
At this point, the extension is fully installed and ready to configure. Click on the extension link and let’s set it up together and get it configured for use on your website.
Step 3: Configure Stomt Feedback Form Extension
To configure this feedback form extension, you will need to fill out some quick settings. Then, you’ll need to get your AppId from Stomt so that you can use it to display the instant button or form where you want to on your website.
You will notice that the main configuration page has two tabs:
- Plugin
- Options
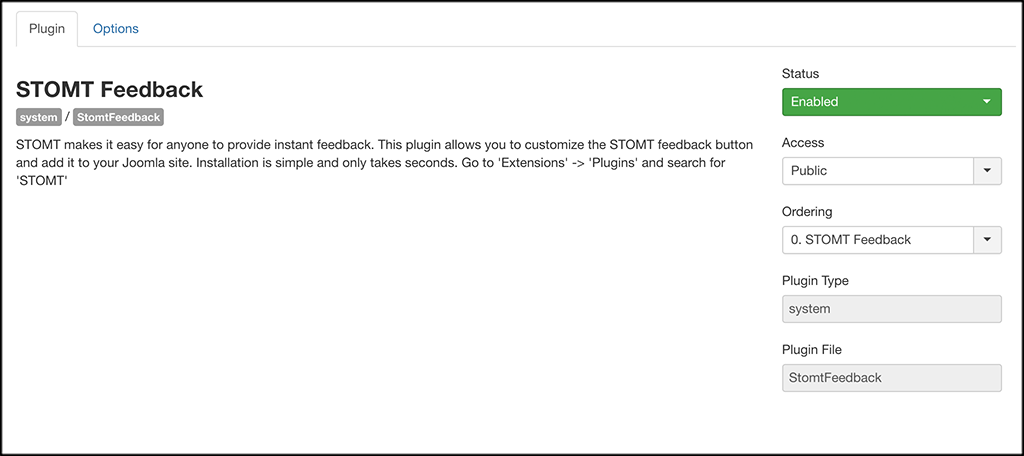
Plugin
The plugin tab provides some info on the plugin, as well as a status message. There is also the option to select access and ordering on the right side of the page. You may set that to your desired specs if applicable.
Options
Two things need to happen under the options tab. First off, you see a blue box at the top of the page that states you need to go get your Stomt AppId so that you can plug it in the extension and use it properly.
Go ahead and click on the link in the blue box to get your AppId.

Clicking on the link will take you to a registration page. Here, you can register as yourself or as a business. For this example, we are registering as ourselves. Go ahead and click on the “Register Yourself” button.

Stomt offers several ways to sign up. Pick the one you want and complete the sign-up process.

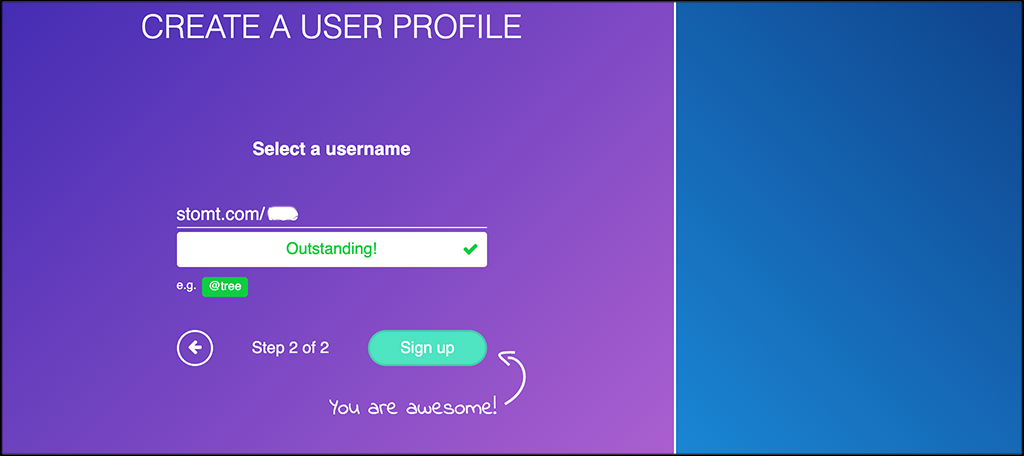
At the end of the process, you will get a username. If you are happy with that username, then click on “Sign Up” and finish.
You will go through a short onboarding process. Also, you want to confirm your email if you used it to sign up for your account.
Once the process is complete, you will have a homepage within Stomt that you can use however you want.
Go back to the “Options” tab and enter your new AppID. Under that, you can enter the rest of the settings you want and create your first feedback form.
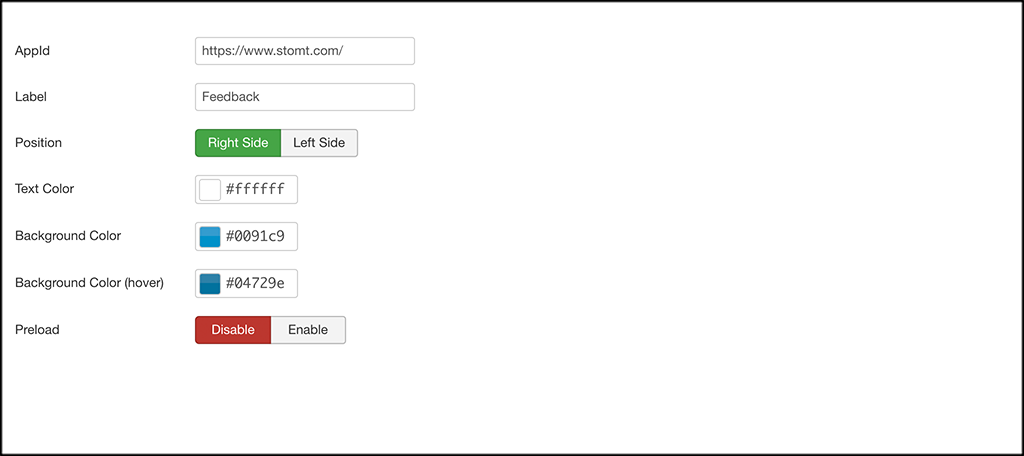
Simply click on the “Save” button when you are finished and you are all set!
Step 4: View Feedback Form on Front End
Last but not least, it is time to go view your form on the front end of your website. The form will display in the areas you chose, in the manner you chose to display.
In this example, we did a quick pop out feedback button. It displays on the right side of the website.
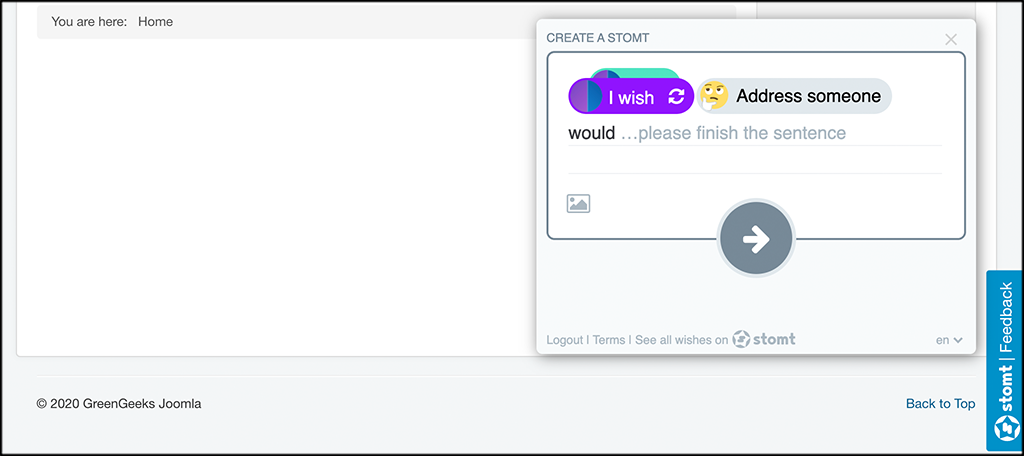
And you are all set. Update any settings you want and enjoy the extension.
Final Thoughts
Getting a feedback form integrated into your Joomla website isn’t difficult. As long as you have the right extension and know the steps involved, then you will be able to add a form in several different ways.
I hope this tutorial was helpful in showing you how easy it can be to add a feedback form or button to your website.
Have you been using another extension to add forms and feedback buttons? Did you try Stomt to see if it was easier to manage?