Even after you have set up your online store, giving customers easy access to all your products from the comfort of their home, you still may be looking for other selling tools to integrate into your system. Having a WordPress point of sale on your WooCommerce store is a great way to move products. You can do this by using the wePOS plugin, which we will go into more detail on below.
Remember, just because you have a solid eCommerce store does not mean you shouldn’t be looking for other ways to drive sales. From discounts and specials to newsletter updates and giveaways, these things can help your online store become more popular and gain revenue.
Let’s talk about how you can integrate WooCommerce point of sale into the site you have built.
What is POS (Point of Sale)?
POS, or point of sale, is a type of transaction that takes place between a merchant and a customer. When a product or service is purchased, the point of sale system is what is used to complete the purchase and track all that comes with that transaction.
So, think of it like this. Anytime you are at a restaurant or a retail shop and you make a purchase, you are in fact, completing a point of sale (POS) transaction. A POS system uses a combination of software and a terminal. Combining these together gives you a full POS platform.
Oftentimes (unless a brand is online only), a point of sale system is the very heart and soul of a business. This is because it is used to track and take care of so many essential tasks. Some of the more important tasks it handles include inventory management, labor reporting, menu customization, price adjustments, staff management, sales reporting, customer management, and marketing initiates.
So, why use point of sale if you have an online shop? Well, there are a couple of good reasons that someone may need to start using WooCommerce POS. For one thing, if you have an online shop that is attached to your physical store, then you want to be able to manage inventory and make sales on both.
Another reason you may need to use a POS is if you sell products at fairs, markets, and other places on the road. You can easily sell them physically while keeping track of everything in the backend of WooCommerce.
This helps you avoid selling items that are no longer in stock.
Today, I am going to show you how to install and use a WooCommerce point of sale plugin. Let’s take a look at the plugin in question and see what it has to offer.
wePOS – Point of Sale (POS) for WooCommerce
wePOS is a very fast and fully responsive WooCommerce POS plugin. It will allow you to easily take orders and track all your inventory using the WooCommerce store you have built.
Simply put, once the plugin is installed, you will be able to physically count your WooCommerce products by simply scanning Barcodes and adding them directly to a customer’s cart for processing.
wePOS is basically a single-page application that runs very fast, is lightweight, and shouldn’t slow your site down. It uses the WooCommerce REST API and a custom API that allows it the seamlessly manage your store (physical or otherwise) right from the system in the WordPress and WooCommerce backend.
Perhaps the best part of this plugin is the user-interface? It is very attractive, easy to navigate, and not difficult to understand at all. As I said above, the entire thing is housed on a single page, and you can manage all functionality from there.
While there are other POS choices out there for WooCommerce, you are going to be hard-pressed to find one that works as fast as this or one that is as easy to use as wePOS.
Let’s get the plugin installed and running on your site and go through it together.
Note: The rest of this tutorial assumes that you have WooCommerce installed and set up on your website.
How to Set Up wePOS in WooCommerce
Step1: Install and Activate the Plugin
In order to start using wePOS on your WooCommerce store, you first need to install and activate the plugin. You can do this by heading over to the Plugins page of your WordPress admin dashboard.
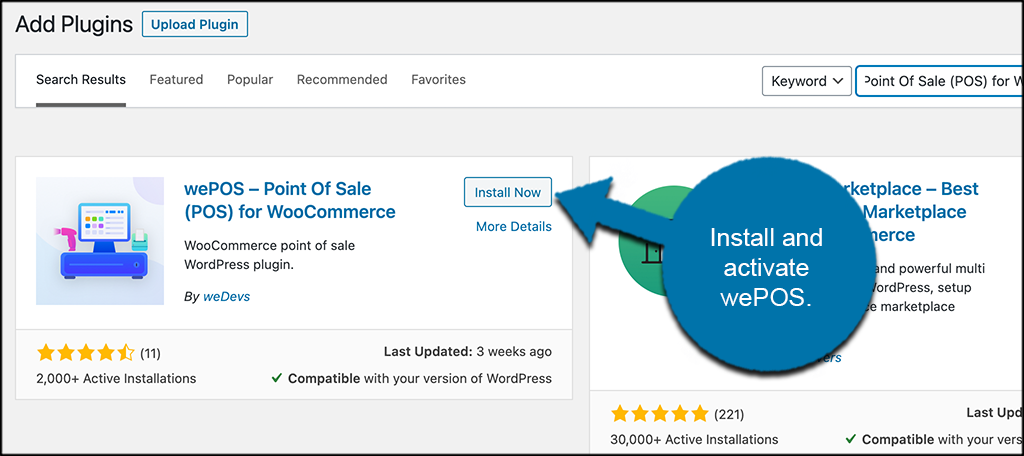
Simply use the available search field to search the plugin by name. Once you see it pop up, go ahead and install and activate right from there.
Step 2: Access the wePOS Settings Page
Once the plugin has been installed and activate, you want to access the settings page for the plugin. To do this, simply click on wePOS > Settings, located on the left side menu area of the dashboard.
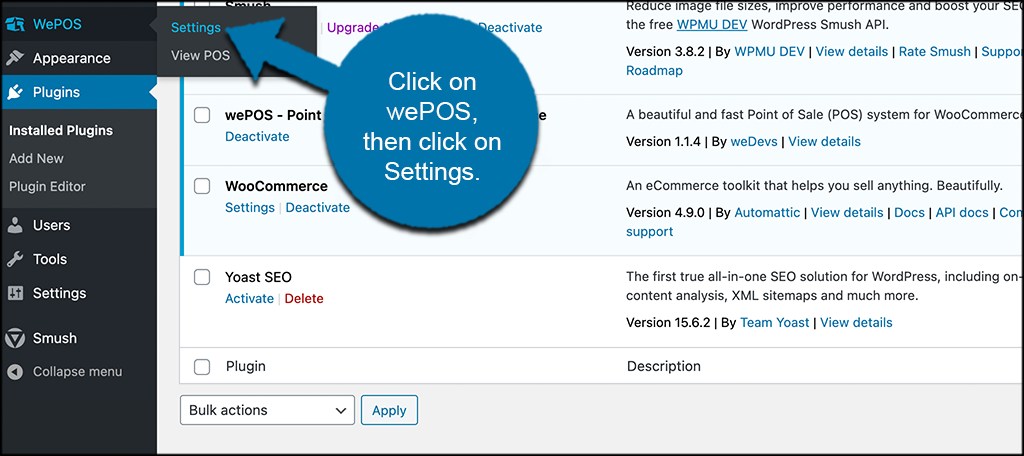
You can see that this is now an available option because the plugin has been activated.
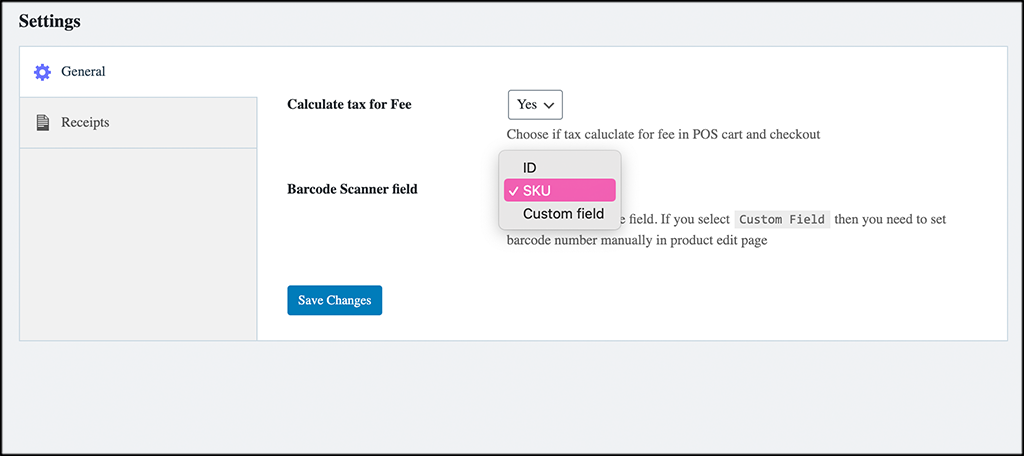
Step 3: Configure the Plugin Settings
At this point, you have made it to the plugin settings. You will see that there are simply two main things to configure, the General tab and the Receipts tab.
On the General tab, go ahead and choose the tax fee and barcode scanner field you want to use.
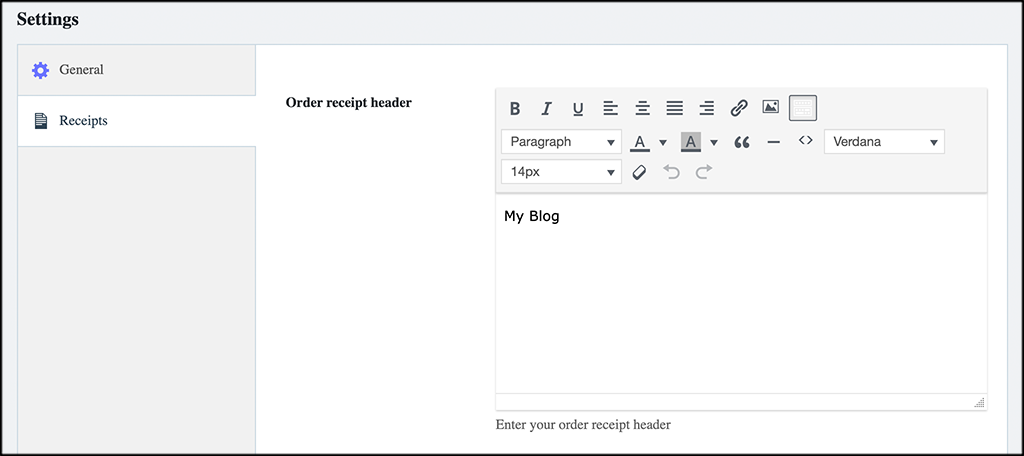
Now, click on the Receipts tab. From here, you are able to create the text and layout you want for both the receipt header and footer.
Click on the “Save Changes” button and you are all set.
Step 4: View the Main POS Page
Now that the settings are configured, you can view the main POS page. Click on the “View POS” link tab located on the left menu area.
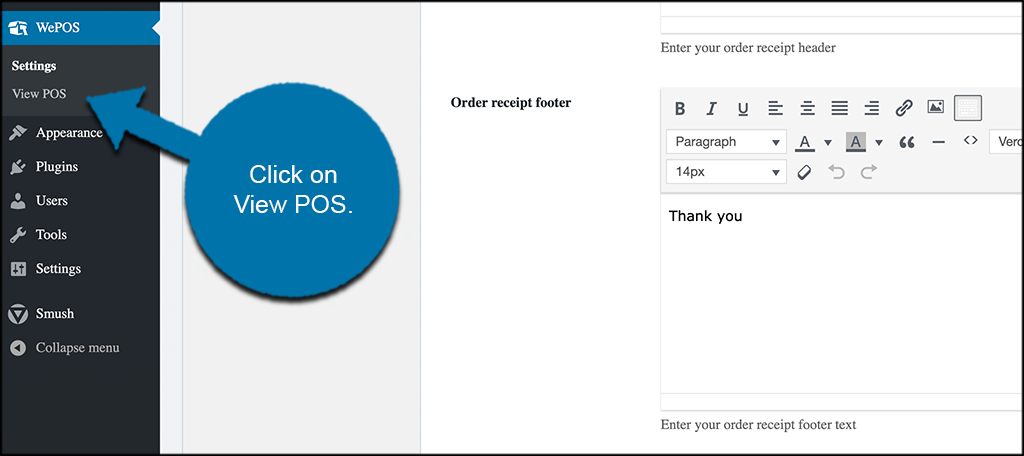
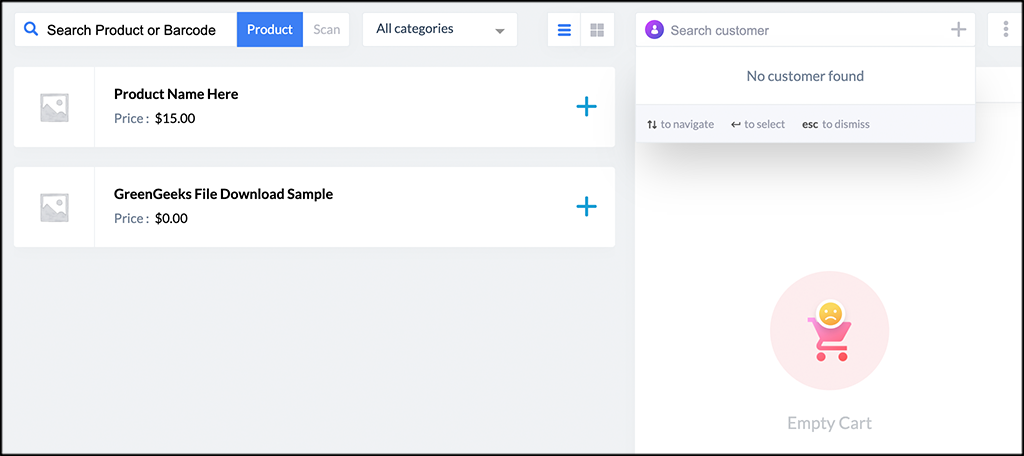
This takes you to the main layout where all the functionality is at your fingertips.
Step 5: View All Functionality and Start Selling
Now that you are on the main POS page, you can view all the functionality and start selling. Let’s take a look at some of the features that wePOS offers so you know where to find them.
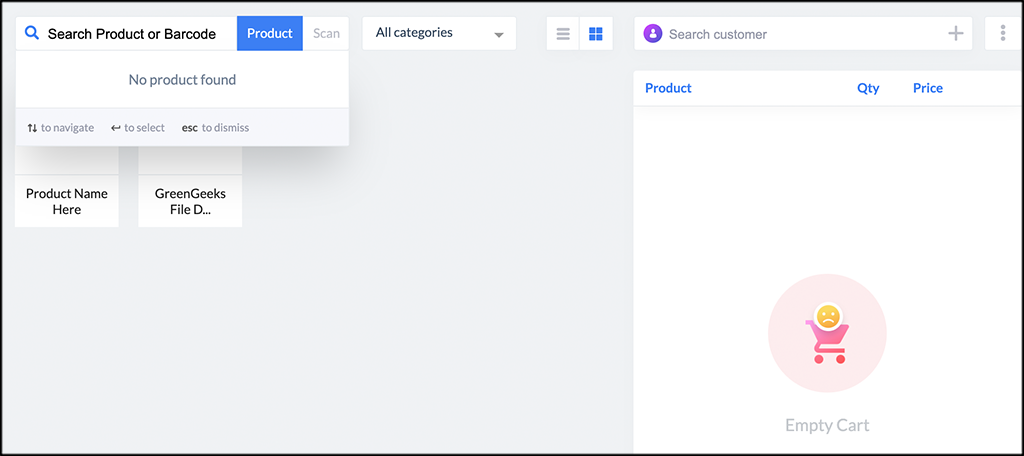
Product Search and Barcode Scan
On the top left of the page, you can search products by name or scan barcodes quickly and easily.
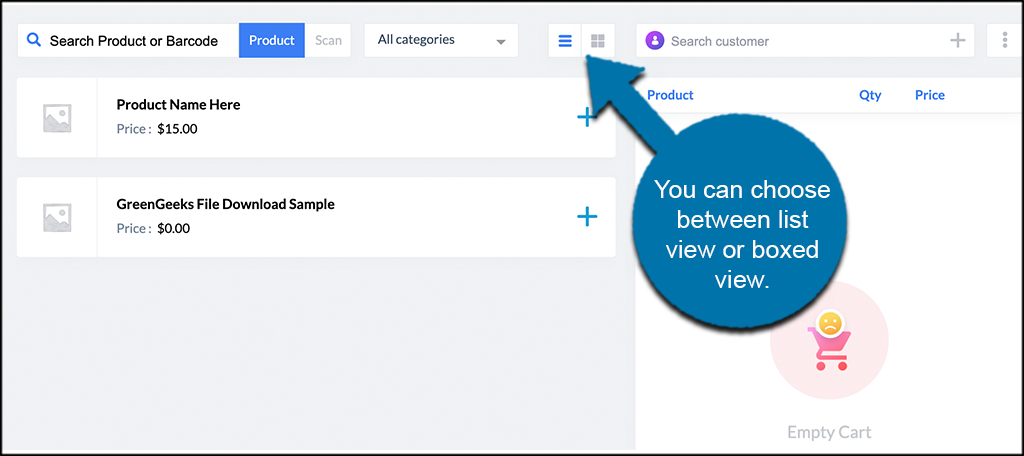
Product Views
You can view products and results on a boxed or list new. Whatever you are more comfortable with, just toggle between the list or boxed icon at the top middle.
Customer Search
Access your customer list and search for them whenever you want using the customer search field on the top right.
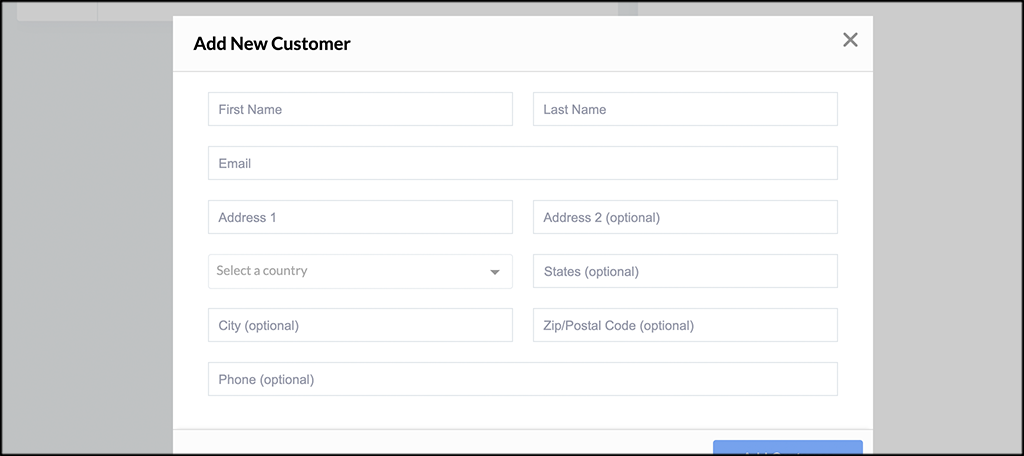
Add New Customer
Easily add a new customer right from the wePOS dashboard by clicking on the + icon located inside the customer search field.
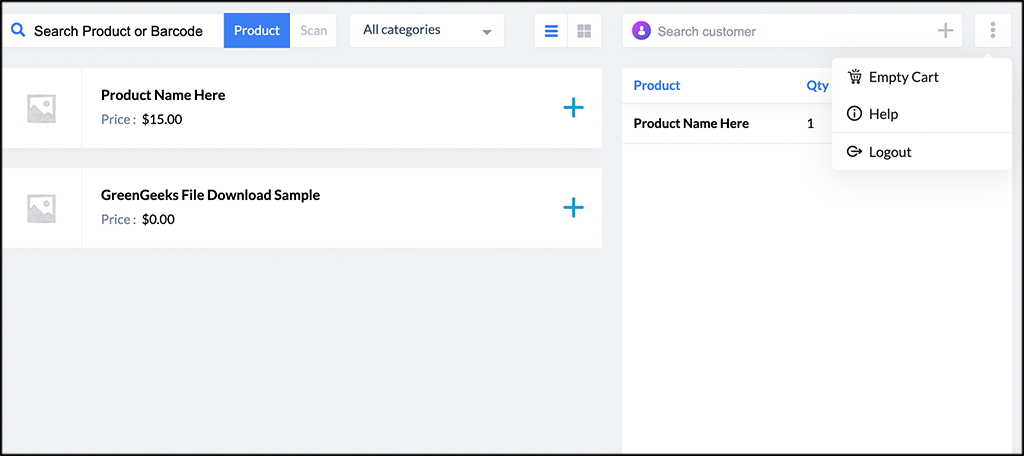
 Three-Button Menu Icon
The three-button menu icon on the very top right gives you the ability to empty a cart, get help from the developer, or log out.
Add Discounts, Fees, and Notes
Toward the bottom right of the wePOS main page, you will see buttons to easily add discounts, fees, and notes to any order in the cart.
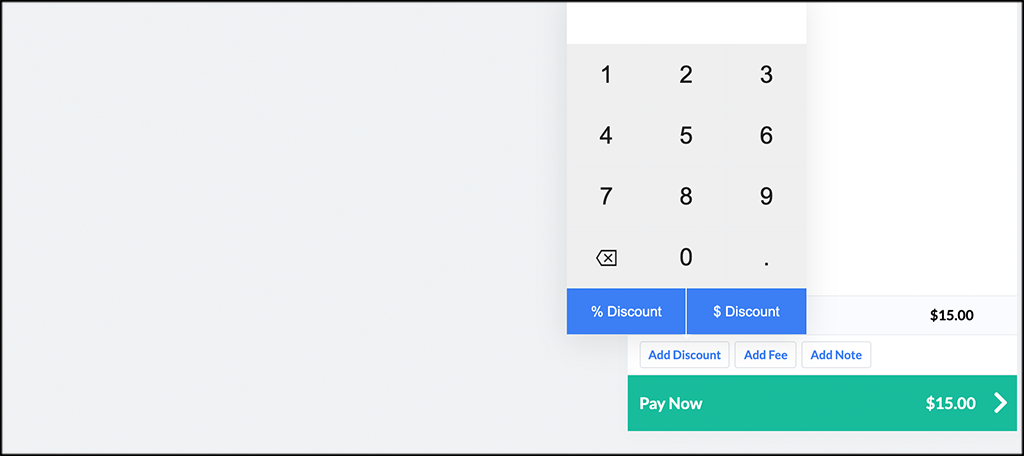
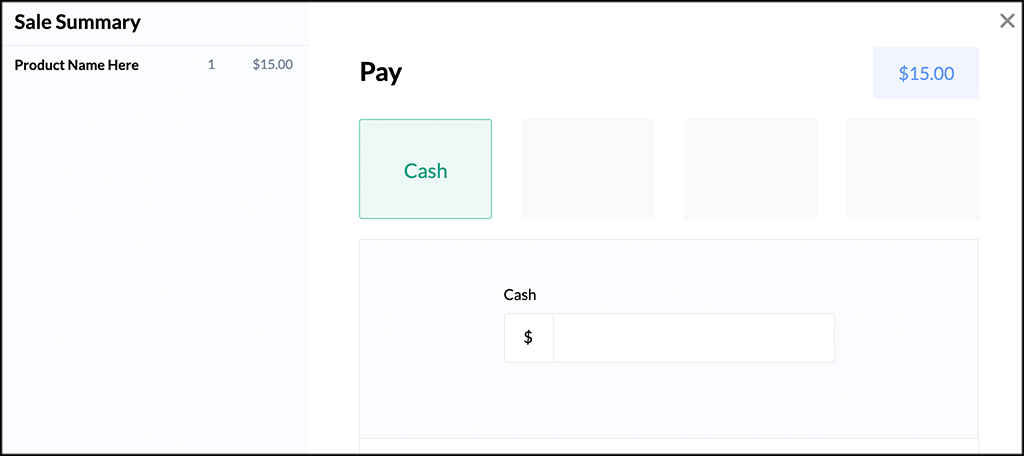
Payment Options
When you are ready to place the order, click on the “Pay Now” button. This opens a screen with the checkout page and payment options. Remember, your page will look different based on the payment option you allow for customers.
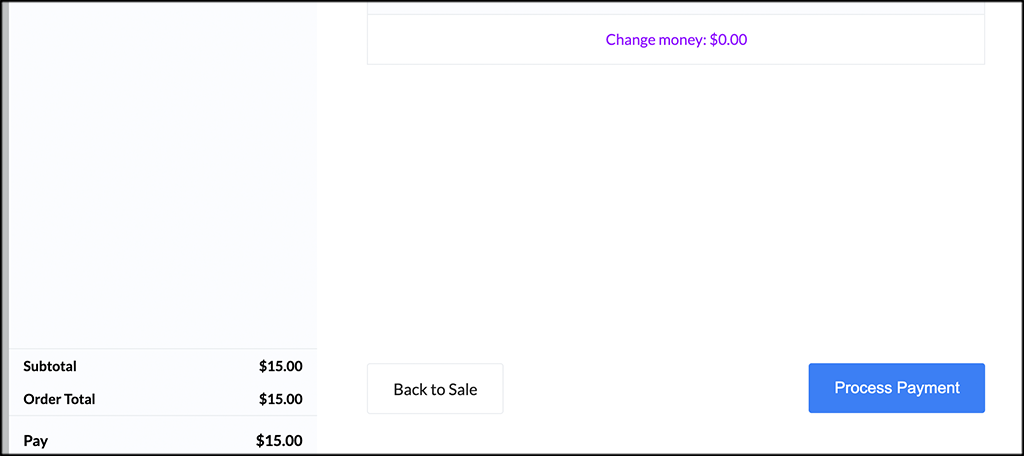
When you have entered the payment type and amount, then click on the “Process Payment” button to finalize the sale.
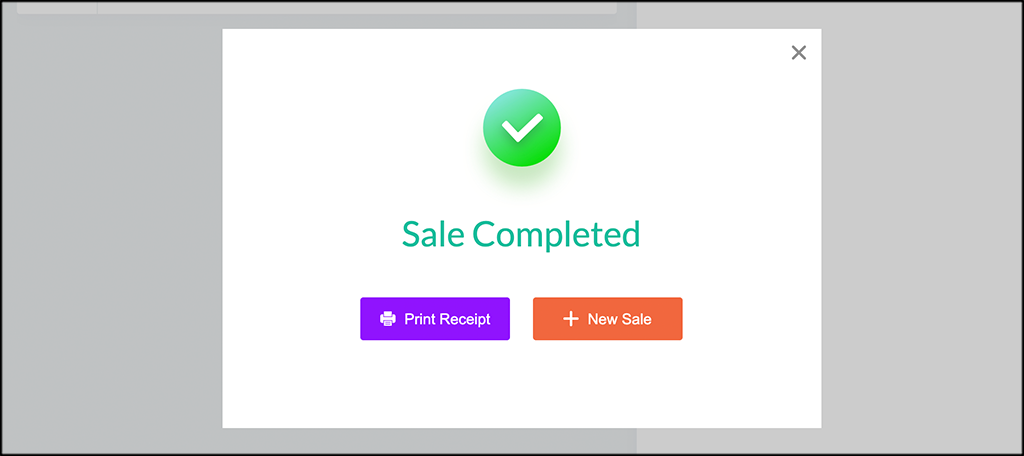
A popup box will show informing you that the sale was successful. From here, you can add a new sale or print a receipt for the customer.
That’s it! You are now up and running with wePOS and you have the ability to perform point of sale transactions from the online store.
Final Thoughts
Adding a POS system to your WooCommerce website could be key to adding more offline sales and keeping track of all inventory from the WordPress backend.
I hope this article was able to show you how easy it is to install and use the wePOS plugin. Having a tool like this makes point of sale a breeze.
Have you ever used a POS system in WooCommerce before? Is there another plugin you like better?