If you have an online business, or simply post prices online for goods and services, then you know how important it is to present clear and concise pricing. One of the best ways to do this is to make sure you have a stylish price list on your company site for potential and current customers to view.
There are a lot of ways you can build and show pricing for goods and services on your website. You can use custom code to build a pricing table, or you can even use a plugin to help you quickly and easily design a price list of services on your site.
Today, I am going to show you how to build a stylish price list that you can display anywhere you want on your WordPress site using a generated shortcode.
Why Should You Have a Price List?
A common question that many people have is, “should I actually list prices on my website?” The answer to this, yes. You might worry about things like clients leaving your site once they see prices, your competitors knowing your rates, or you want to leave pricing options open.
Whatever the reason may be, you should still show things like a freelance price list, or other types of pricing on your WordPress website. The fact of the matter is most customers do research on pricing beforehand, and they already have a budget in place.
So, while there might be some wiggle room, are you really going to get a customer to pay much more over the phone? Probably not. Might as well give them what they want to see, your price list of services available.
And also, if you are worried about your competitors knowing your prices, don’t be. Chances are they already know them anyway. And in reality, if your services are good, you will get the right customers.
Let’s take a look at the plugin we are going to use today to build a price list of services on your website.
Stylish Price List
Stylish Price List is a smooth, simple, yet powerful WordPress plugin that will give you the ability to build and design amazing price lists to put on your website. It comes with a good amount of functionality, but will not slow your site down at all.
The plugin is perfect for any small business or freelancer that needs a way to display pricing options on their websites for their goods and services. Showing rates in WordPress is important when it comes to getting clients.
Stylish Price List can be used for just about any niche. Some of the more popular ones it is used for include:
- Spas and Salons
- Graphic Designers
- Website Designers
- Restaurants
- Retails Businesses
- Travel and Tourism Sites
- Photographers
- Massage Studios
Basically, if your site needs some sort of working price list, then this is the plugin for you.
As stated above, while being smooth and easy to use, the plugin actually does come packed full of functionality. Some of the main features include:
- Drag and Drop Functionality
- Works With Almost All Languages
- Multiple Design Styles
- Font Styles
- Responsive Price List
- Add to Any Page
- Shortcodes
- Secure
- Fast
Let’s get the plugin installed and running on your site together.
Note: This plugin does have a pro version available. It does give access to quite a bit more features and functionality. If you feel this is something you need, then go ahead and give that version a look. The rest of the tutorial below is based on the free version of the plugin.
How to Add a Price List in WordPress
Step 1: Install and Activate the Plugin
In order to start showing rates in WordPress, you first need to install and activate the Stylish Price List plugin. You can do this by heading over to the Plugins page in the WordPress admin dashboard.
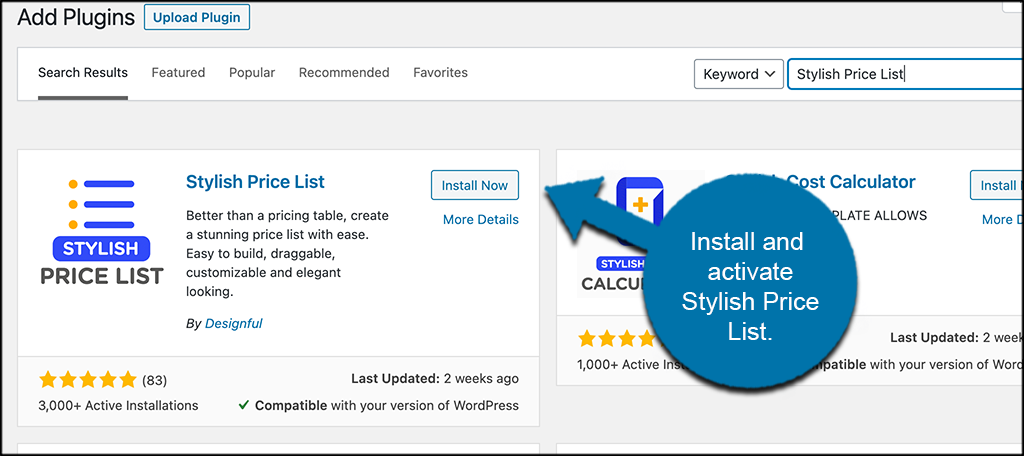
Simply use the search field to search for the plugin by name. Once you see it pop up, go ahead and install and activate it right from there.
Step 2: Add a New List
Once the plugin has been installed and activated, you can immediately create a new list. There is a “Settings and License” tab, which we will discuss a little below, but this plugin is essentially ready to roll right when you activate it.
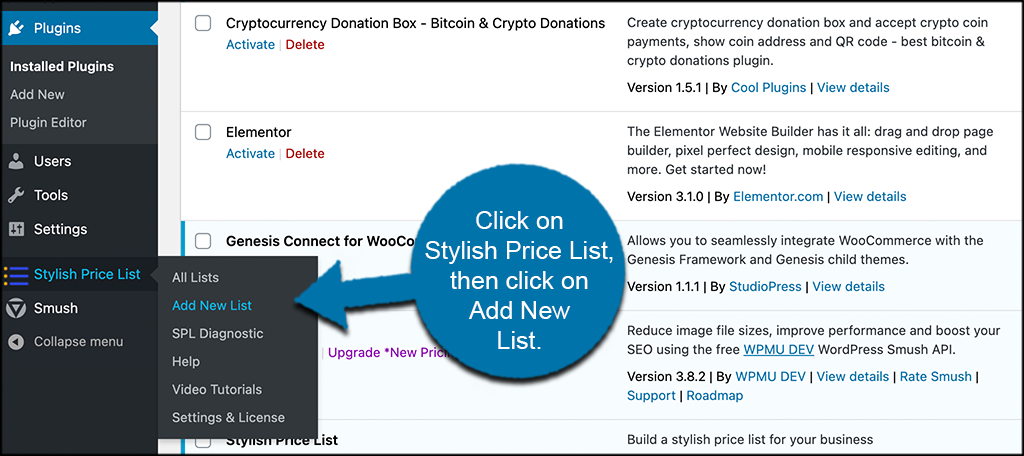
Click on Stylish Price List > Add New List, located on the left menu area of the dashboard. You will see this is now an available option because the plugin has been properly activated.
Step 3: Add a List Name and Style
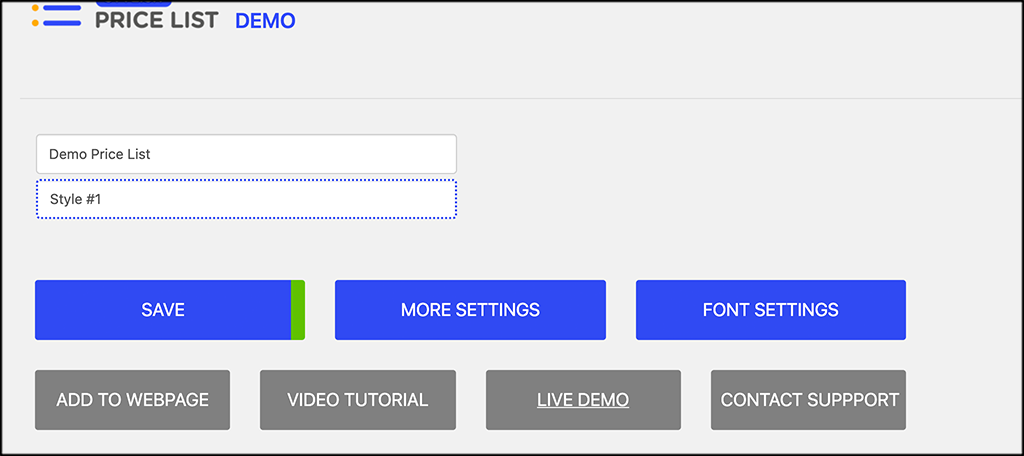
At this point, you are on the configuration page for adding a new list. At the top, go ahead and give the price list a name, and then select the style that you would like to use.
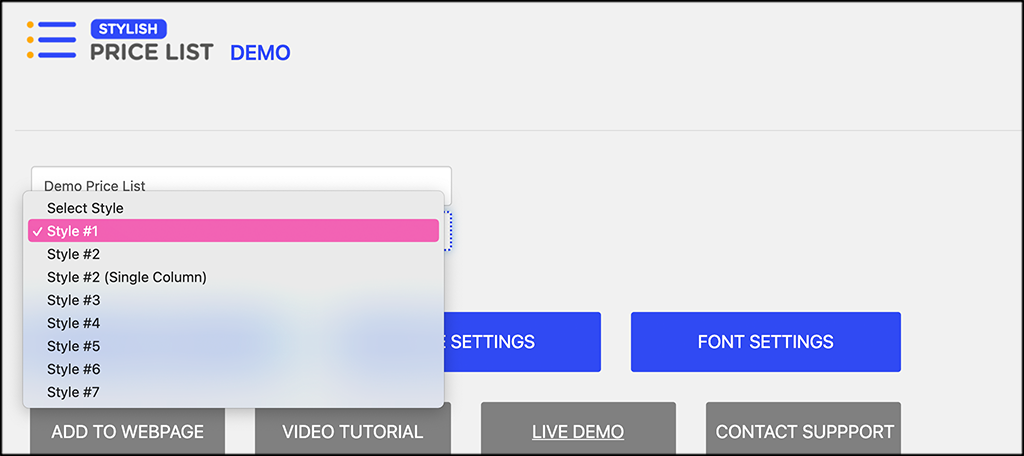
You will see a popup box appear when you select a style. This is showing you what the stylish price list will look like on the front end of your site.
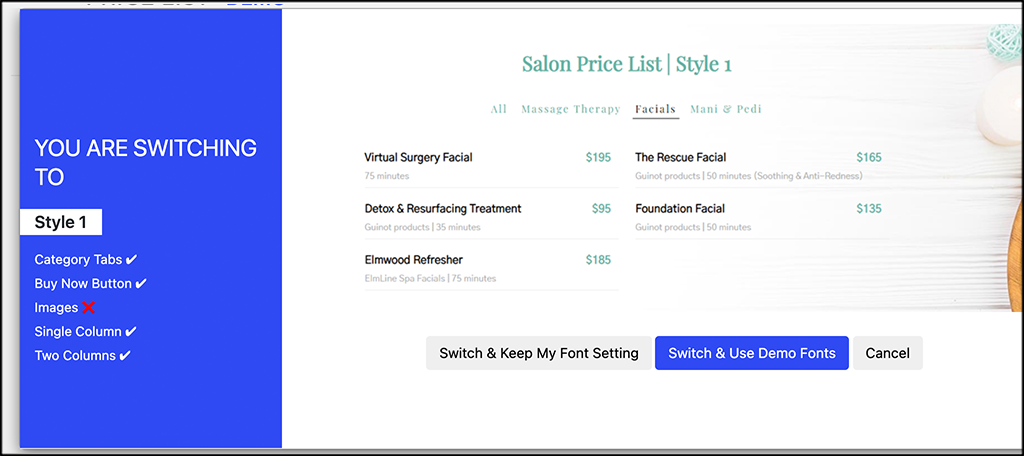
Feel free to scroll through the styles and pick the one that you like best.
Step 4: Configure “More Settings”
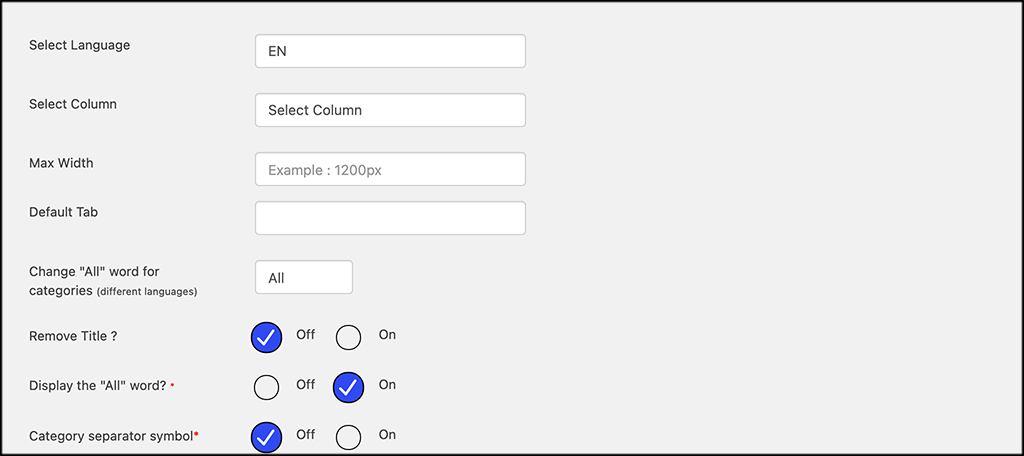
Below the style picker, you will see a few different buttons. One of these buttons is titled “More Settings.” Go ahead and click on that.
A drop-down of settings options will appear. Go ahead and fill all of those out how you see fit. This will include things like columns, width, tabs, languages, buttons, and more.
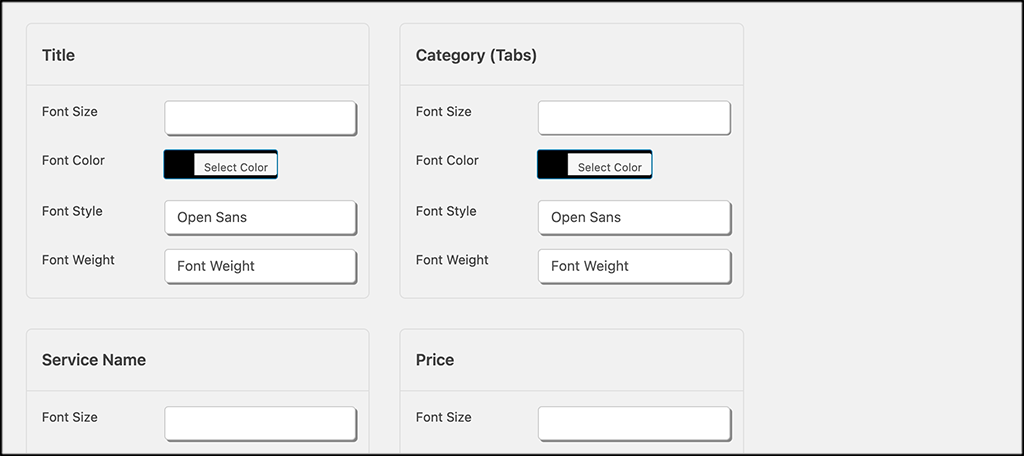
Step 5: Configure Font Settings
Again, you will see another big blue button titled “Font Settings.” Click on that just like you did the “More Settings” button above.
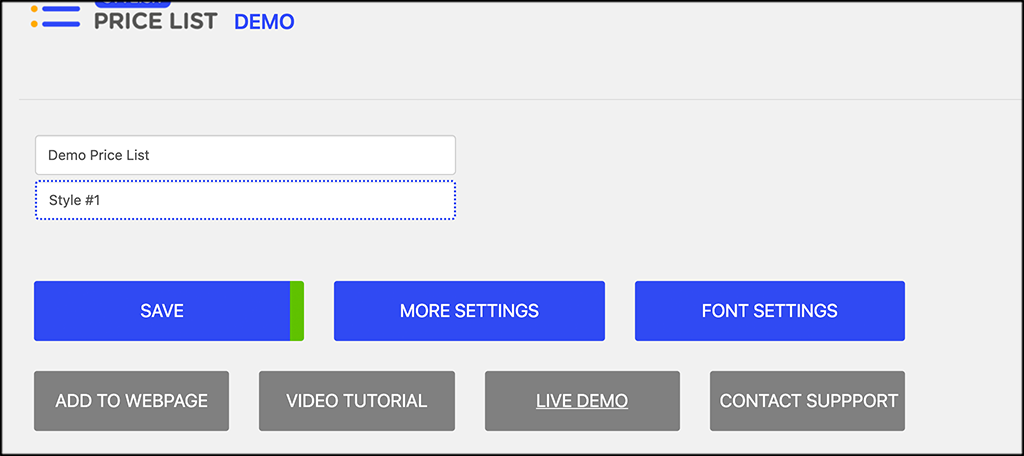
Now, go ahead and configure all the font settings how you would like them.
Step 6: Fill Out Price List Categories and Prices
The last thing you need to do is scroll down a little and start filling out your categories, pricing, descriptions, and button text.
This is actually all the info that will display on your price list.
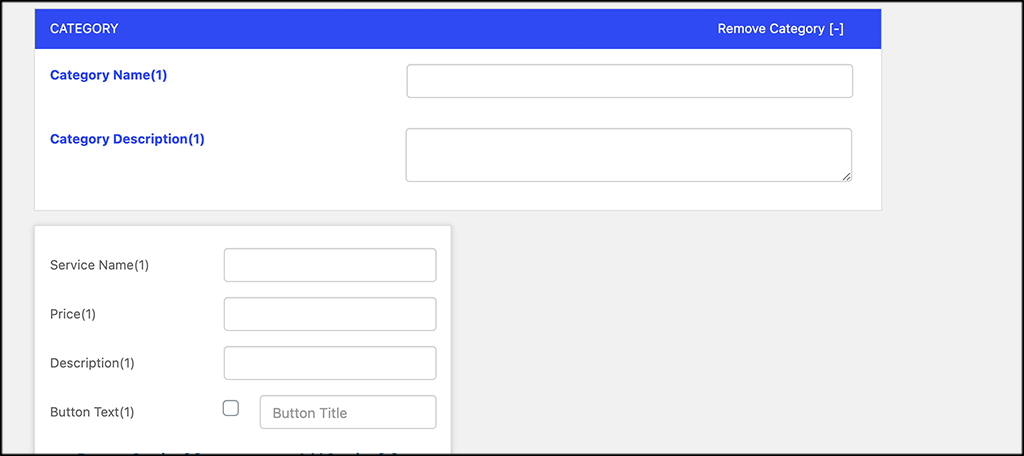
You can add as many services and as much information as you want to the price list by using the “Add Category” button. When you are finished building the price list you want, go ahead and click on the “Save” button to save the price list and get it ready to post.

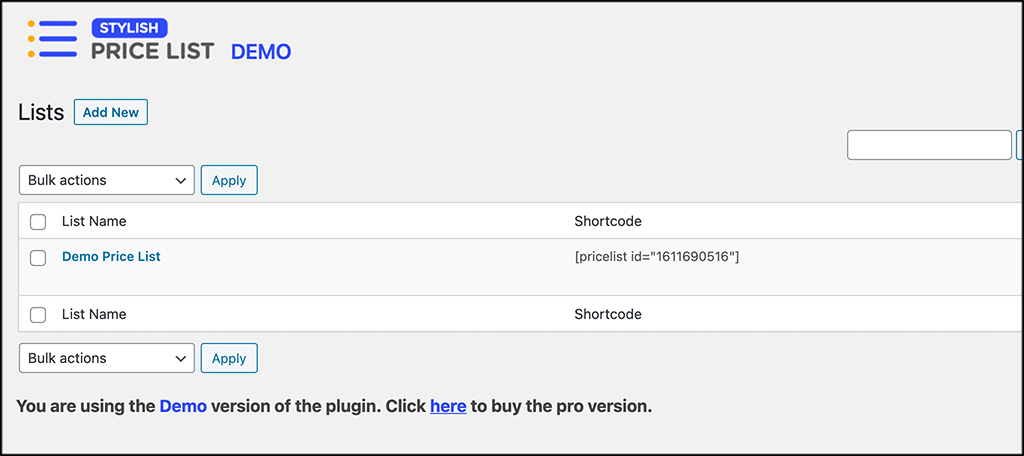
Step 7: Add the Generated Shortcode to a Page
Your price list is now ready to be added to any page you want. Go to the “All Lists” area of the plugin. There, you will see a list of all the pricing tables that have been built.
Copy the shortcode of the price list you want to place on a page.
Now, head over the the “Pages” section of your dashboard. Select the page you want to display the Stylish Price List on and add the shortcode.
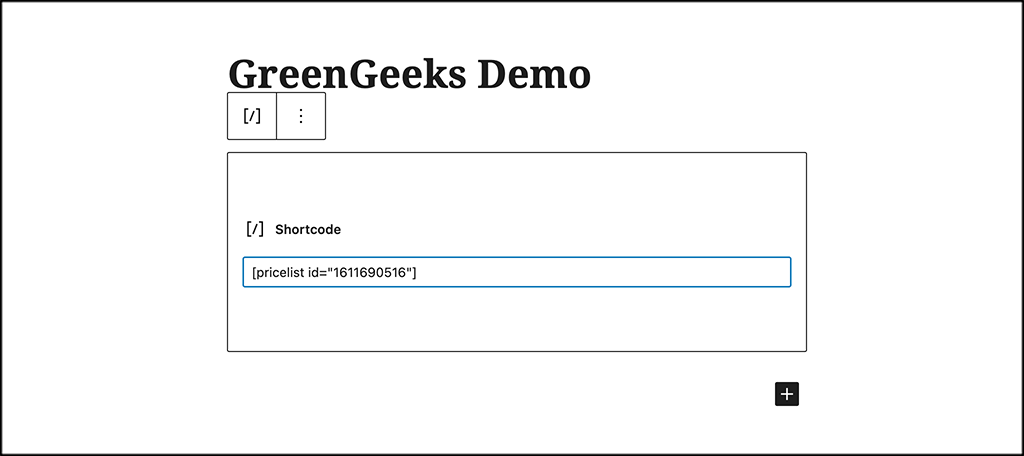
Publish or update the page and you are all set.
Step 8: Go View the Price List Live
The price list should now be live on the page you placed the shortcode. Go ahead and give it a look and see what you think.
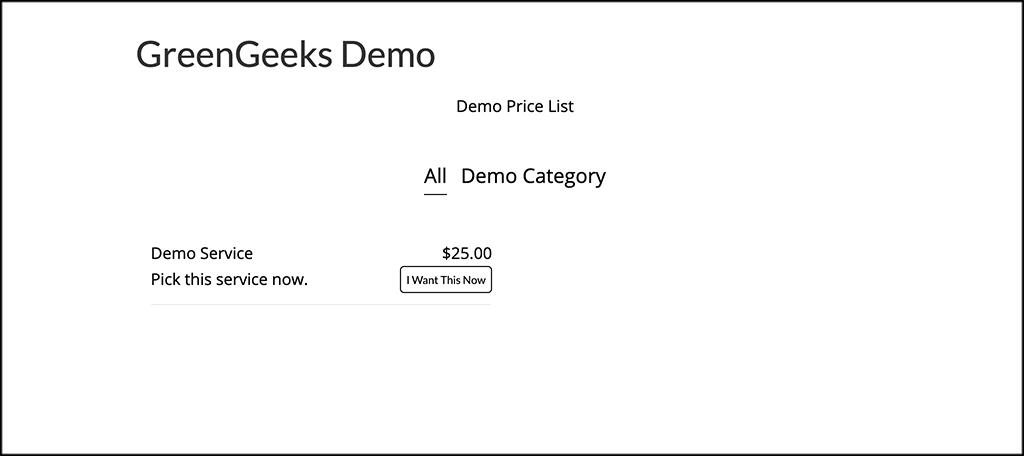
Remember, your price list will look different based on the theme you use, the styling options, and other details you picked.
That’s it! Your price list is live and running. Make any adjustments you want at any time.
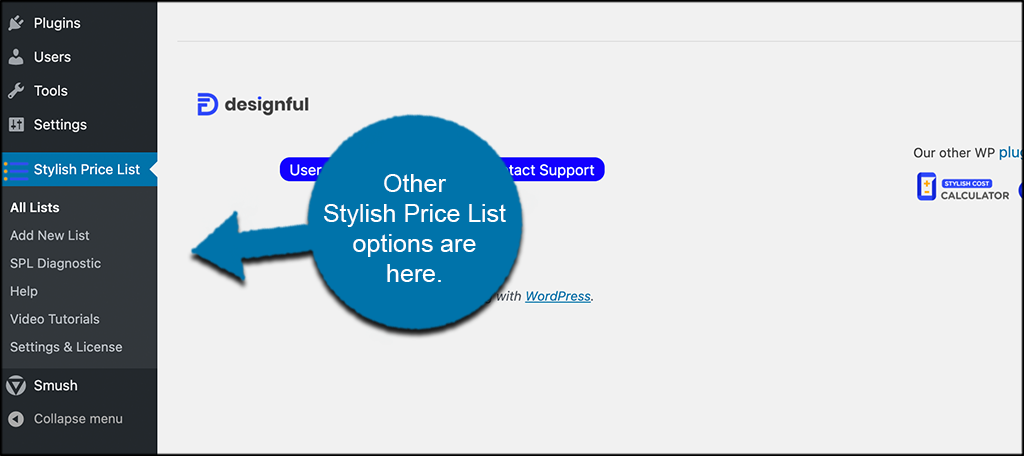
Other Stylish Price List Options
As I stated quickly above, there are some other option areas in the plugin that you might want to look at over time.
Under the Stylish Price List tab is a list of plugin options. These include things like diagnostics, help, video tutorials, and a tab to enter your license number if you buy the pro version.
Final Thoughts
Having a clean, smooth, professional price list on your website will only work to attract more customers. It gives them the ability to see what all you offer right away, and tie it into their own budgets. It is also very professional and helpful to potential clients.
I hope this tutorial was able to show you how easy it is to show a price list of services on your site. Using a plugin like Stylish Price List makes it easy.
What other plugin have you been using to build price lists and price tables? Do you prefer to use custom code instead?