This article will show you how to add your GreenGeeks Reseller hosting server to your Clientexec installation.
This article will provide the basics to get you started. There are many available options and covering them all is beyond the scope of the article. We suggest consulting the Clientexec documentation for more detailed information.
Log in to Clientexec, click the “Settings” link in the navigation, then under “Products,” click the “Servers” link.
Click the “server1 (Default)” link.
On the “Edit Server” page, complete the “Hostname,” “Shared IP,” and “Plugin” fields. The Hostname and Shared IP can be found in your “Reseller Account Information” email. The plugin must be set to “CPanel” for Clientexec to communicate with your server.
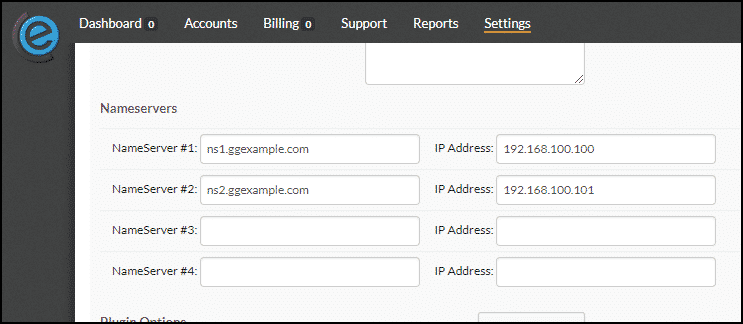
If you have private name servers, enter them in the “Name Servers” fields. Information on setting up name servers can be found in this Knowledge Base article.
If you don’t have private name servers set up, use the name server information from the “DNS Domain Name Server Information” section of your “Reseller Account Information” email.
In order to connect Clientexec to your reseller account, you need a WHM access key.
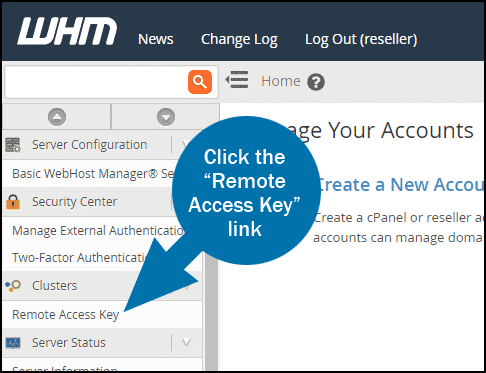
Log in to WHM and in the “Clusters” section of the navigation, click the “Remote Access Key” link.
Copy the key to your clipboard.
In the “Plugin Options” section of the “Edit Server” page in Clientexec, enter the hash you copied from WHM into the “Access Hash” field. “Username” is your WHM user name.
Click the “Save Changes” button, and you’re all set.


