You can change or add MX, CNAME, TXT, A Records and many other types within cPanel using the Zone Editor.
Note: Incorrect DNS entries can disrupt the services related to your domain name.
Use of the DNS Zone Editor is not recommended for anyone unfamiliar with DNS settings. If you are unsure of how to make a specific change in your zone records, please contact a member of our Support Staff by opening a ticket in GreenGeeks.
DNS Zone Editor
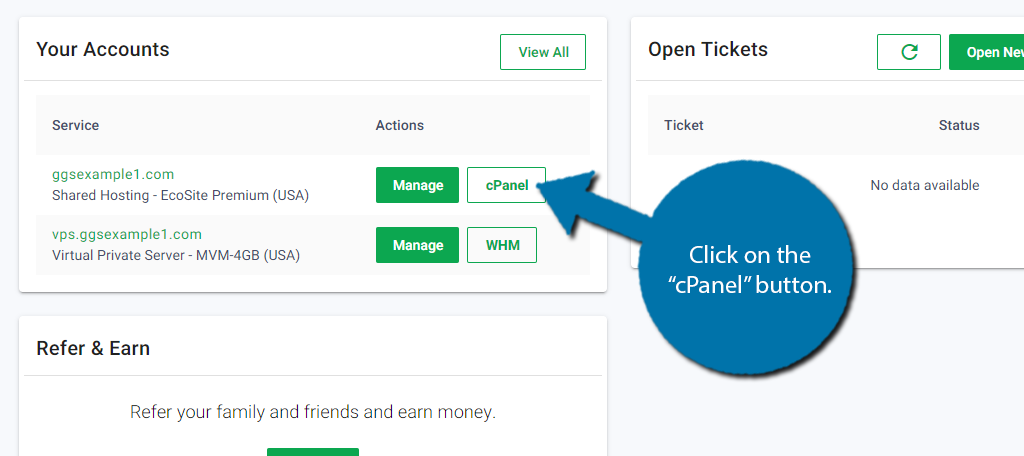
To access the DNS Zone Editor, log in to your GreenGeeks Dashboard and go to cPanel by clicking the “cPanel Login” button in the “Quick Server Login” section.
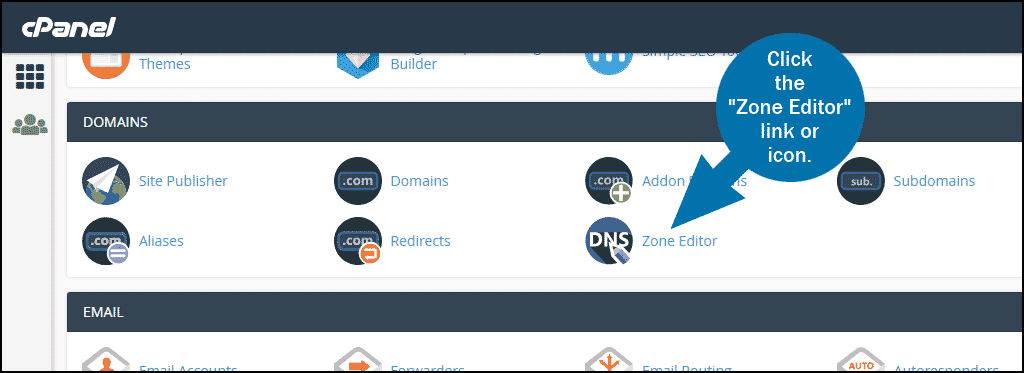
In cPanel, locate the “DOMAINS” section and click the “Zone Editor” link or icon.
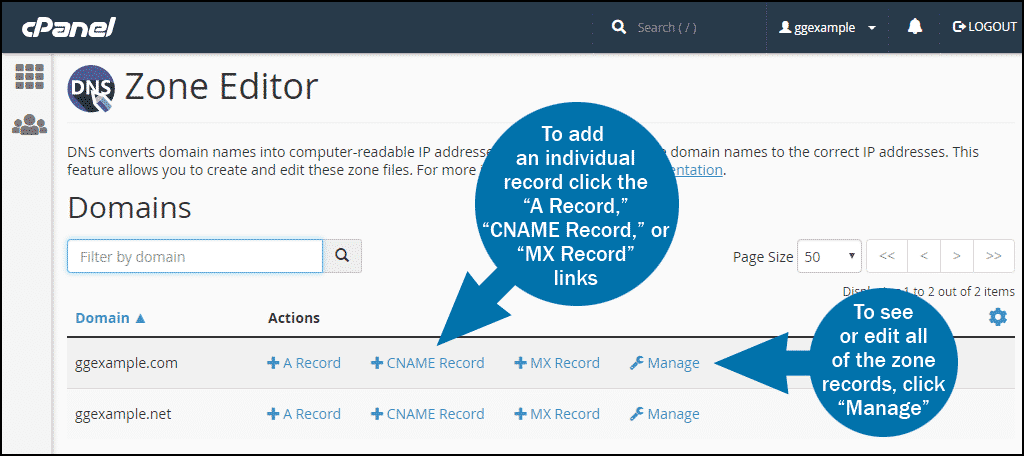
- To add an individual record click the “A Record,” “CNAME Record,” or “MX Record” links.
- To add other types of records, or see/edit existing records, click on “Manage” icon, next to the domain.
If you make a mistake and want to start from scratch, it’s possible to reset your DNS records to the default values.
Reset DNS Zone
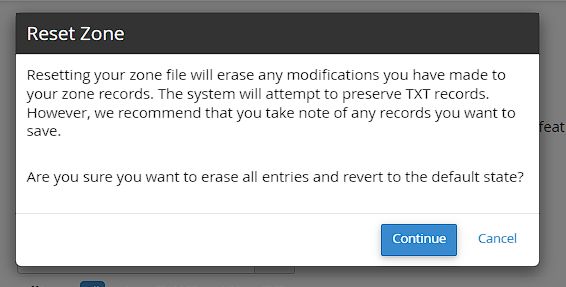
Warning: Resetting the DNS Zone will wipe all DNS records and rebuild the zone back to the default values. Only TXT records will be retained.
To reset the DNS Zone, select Manage in the cPanel DNS Zone Editor for the domain you wish to reset.
On the Zone Editor management page for that domain, click on the Actions drop-down menu, and select the Reset DNS Zone option.
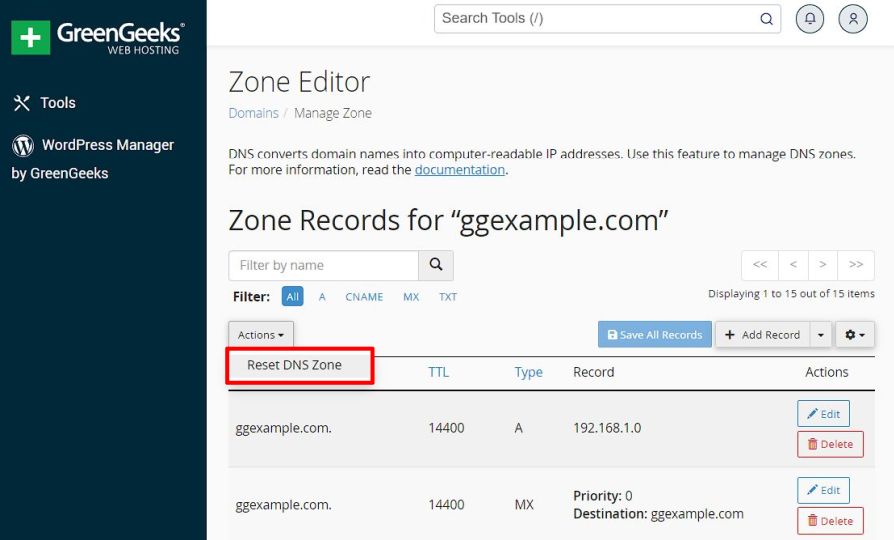 Accept the Warning message and click Continue to perform the DNS Zone Reset.
Once the DNS Zone Reset is complete, a success notification will be shown, and all of the DNS records will have been reset back to the cPanel default values.
If you receive an error while resetting the DNS Zone, open a new Support Ticket Request from your GreenGeeks Dashboard.

