Communicating with visitors is an essential part of running a website in 2023. While many users may opt for premium mailing solutions like Mailchimp, the cPanel actually provides you with a robust toolset to track your email delivery.
Unfortunately, not every email you send is actually going to be sent and may get blocked by some form of interference. Due to how common an issue this is, cPanel provides tools that allow you to track what emails were sent, and why they failed.
Today, I will cover some of the basic features cPanel provides in regard to tracking email delivery in WordPress.
How to Keep Track of Email Delivery in cPanel
Keeping track of the emails your website sends out is actually pretty easy to do in the cPanel. It has a dedicated tool for just that. You will need access to your website’s cPanel. If you need help logging in, contact your web host for additional help.
Step 1: Enter the Track Delivery Tool
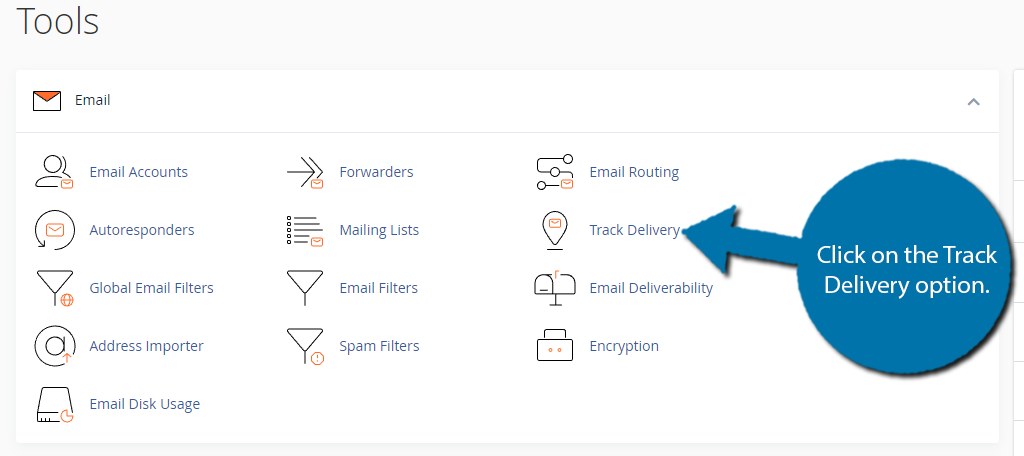
Log into your web hosting account and access the cPanel. Once there, locate the Email area and click on the Track Delivery option.
Step 2: Search For A Specific Recipient (Optional)
If you are already aware that a specific recipient is not receiving emails and want to focus on that, you can use the search functionality at the top. Enter the recipient’s email address in the provided text box and click on the “Run Report” button.
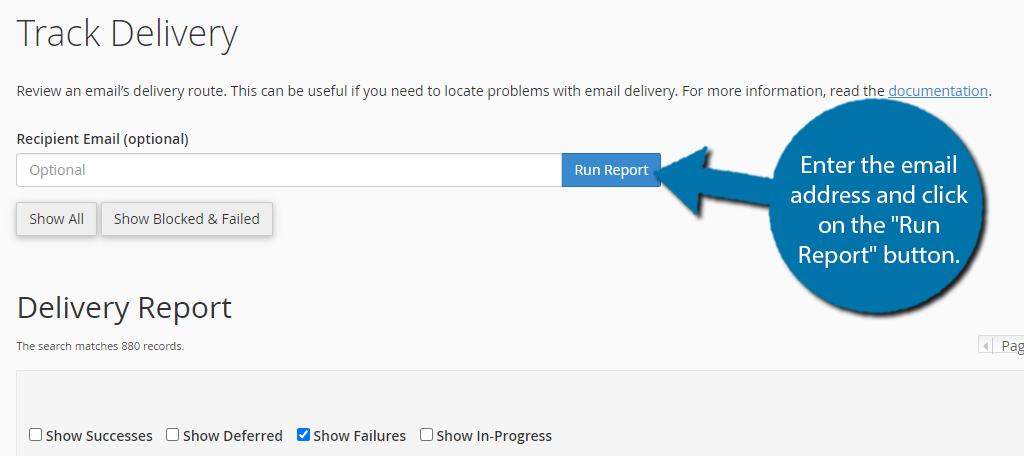
Doing so will pull up the full email log for that recipient. Simply use the information provided to see what is going wrong.
Step 3: View the Full Email Log
There’s a very good chance that the person who is supposed to receive emails is not aware they are not getting them. And truth be told, they are not very likely to contact you about the issue if they are aware.
Instead, you need to be more proactive by taking a look at the full email log. Luckily, this is pretty easy to find.
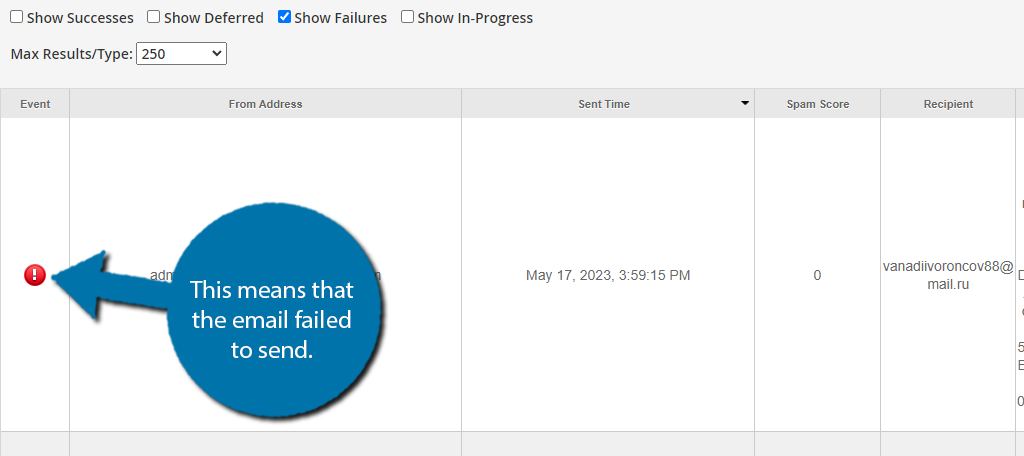
In fact, you are already looking at it if you just scroll down the page. The Delivery Report is a full email log for your entire website. If an email has a green checkmark, then the email was successfully sent without issue.
However, if there is a red exclamation mark, then the email failed to send. It looks like this:
Step 4: View the Explanation of the Failure
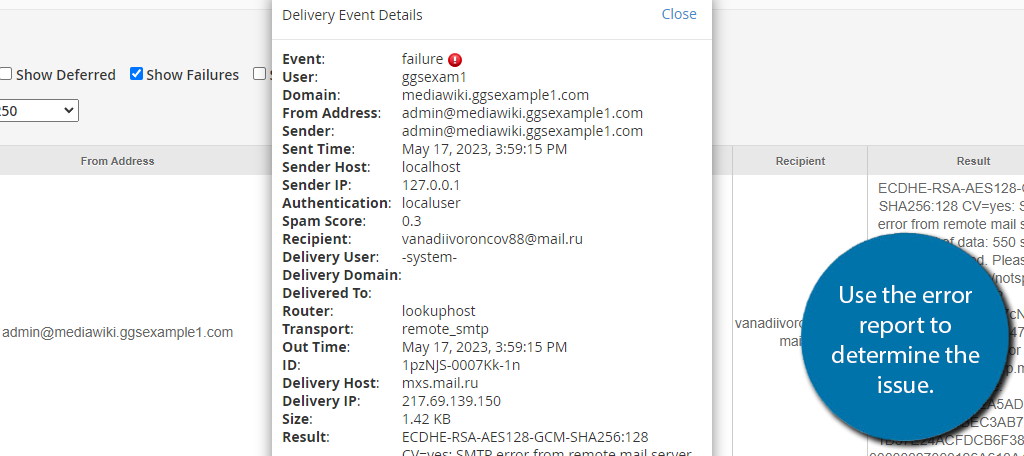
To view the full report and what occurred, click on the blue exclamation point in the Actions column.
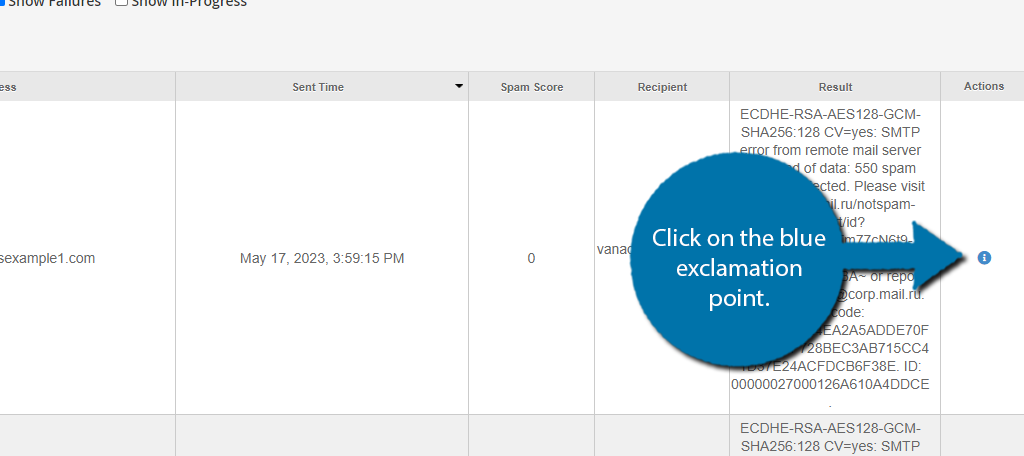
This will pull up a small pop-up with the full details of the failure. Review them to spot the issue.
And that concludes how to identify why an email delivery failed from your cPanel.
