You can create a new file in a text editor and upload it to your GreenGeeks account using an FTP program, but if you prefer a web-based alternative, there is a File Manager built into cPanel.
To access the File Manager, log in to GreenGeeks and go to cPanel by clicking the “cPanel Login” button in the “Quick Server Login” section.

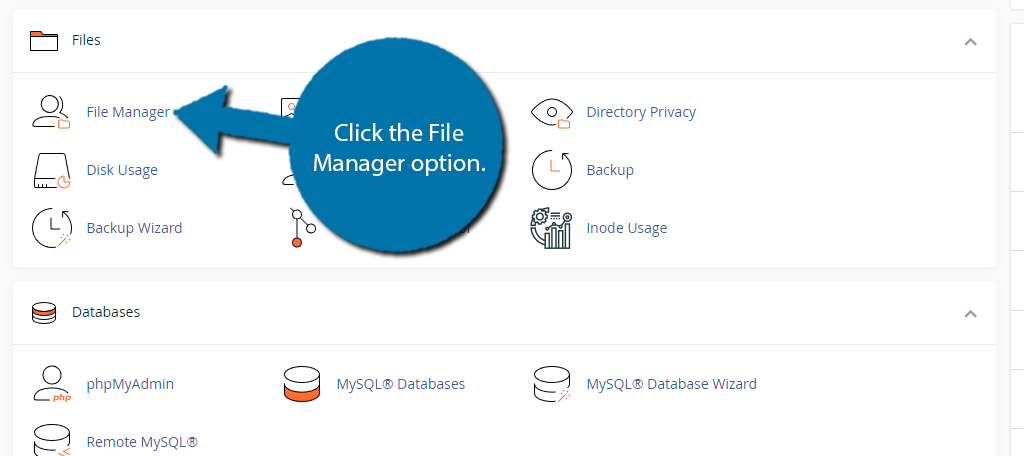
Locate the Files section and click the File Manager option.
Once inside the File Manager, locate the public_html directory.

To Create a New File in the cPanel File Manager
Now that you are within your WordPress directory, go ahead and click on the “+ File” button.

A small pop-up will appear asking you to enter a name for the file you are creating. Enter the name into the textbox.

Now click on the “Create New File” button.

And that’s it. The file you created will be added to the current directory you are in. You can right-click it to edit the file.
Here are some other tutorials you may be interested in: