This article will show you how to create web hosting packages in Clientexec and link them to the packages you have set up in WHM.
This article will provide the basics to get you started. There are many available options and covering them all is beyond the scope of the article. We suggest consulting the Clientexec documentation for more detailed information.
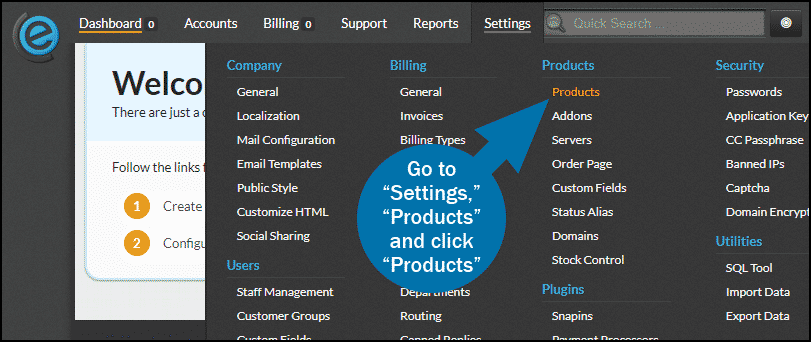
Click the “Settings” link in the navigation, then under “Products,” click the “Products” link.
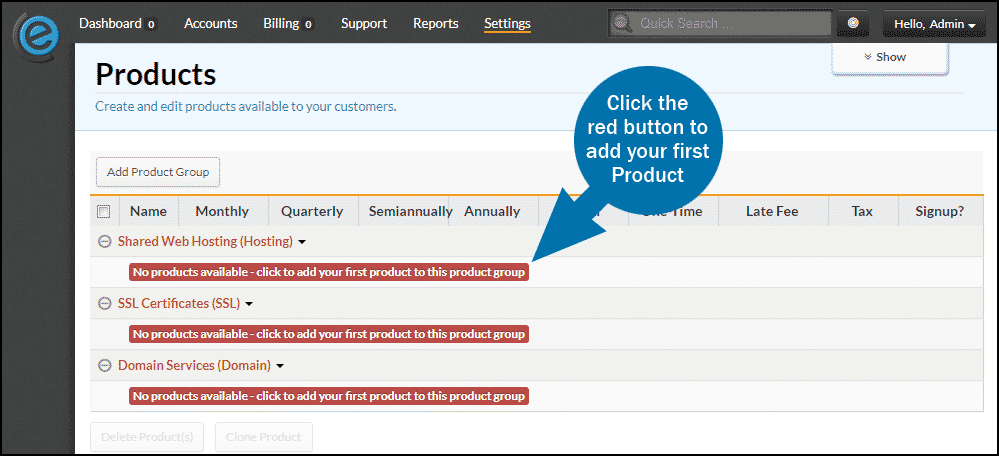
Click the red button under “Shared Web Hosting” to create your first Product. (To add a Product after you have existing products, you will click the “Shared Web Hosting (Hosting)” link, then click “Add New Product.”)
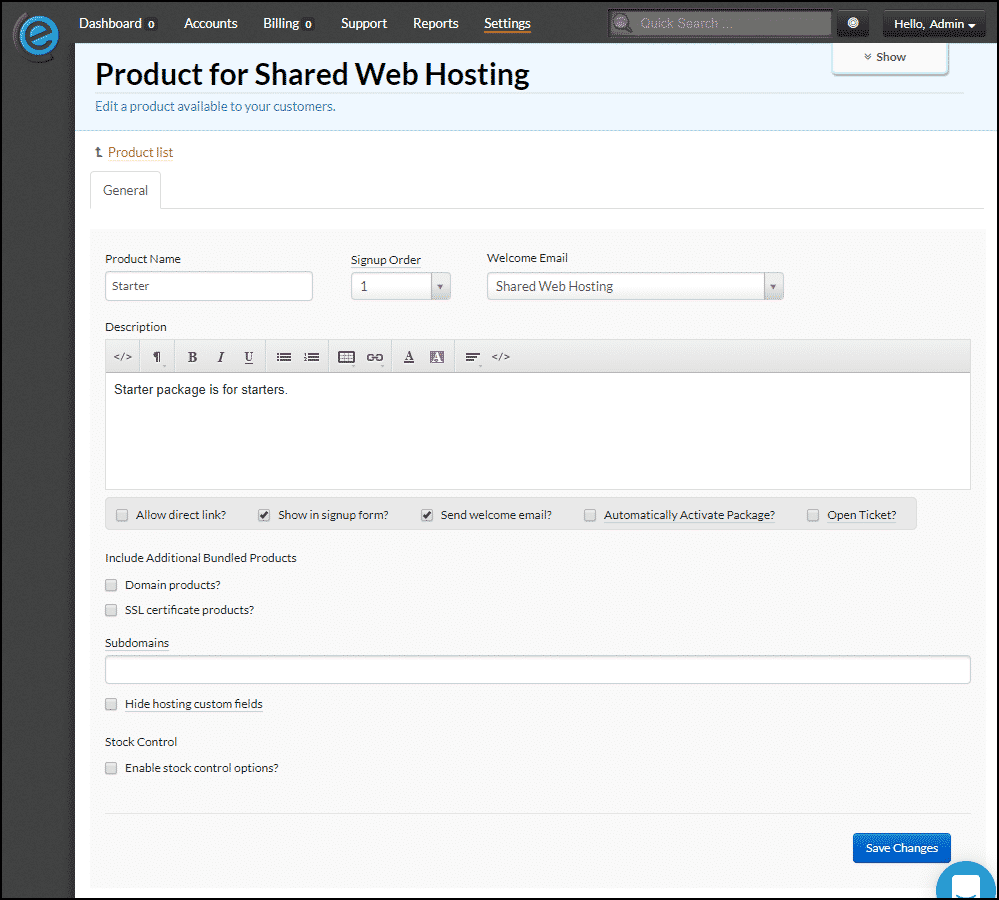
Complete the package information
Product Name – the name of the package you are creating.
Signup Order – this will come into play when you have more than one package set up, then you’ll use it to determine which order the packages are presented in.
Welcome Email – choose the type of email that will be sent to the customer.
Description – the description of the plan. This is where you might include plan details such as quotas.
Checkboxes – you will want to check the boxes for “Show in signup form?” and “Send welcome email?” We do not recommend checking “Automatically Activate Package?” since you should check your initial sign-ups for fraud before activating them.
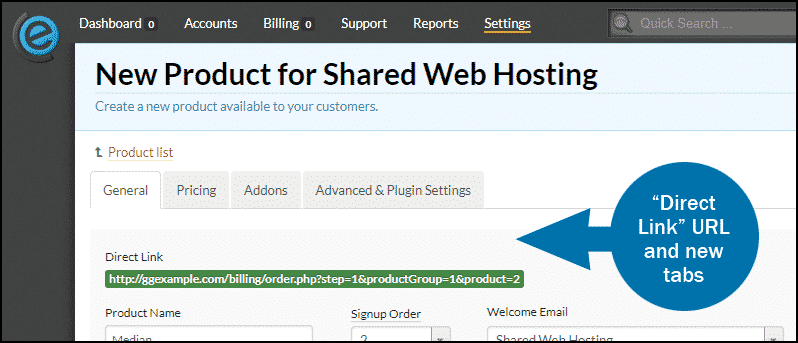
When you click the “Save Changes” button the package will be added, you will be shown the direct link URL to get to the package, and new tabs will be available for the Product.
Two things you have to do for any Package are set the pricing and connect the Product to a server.
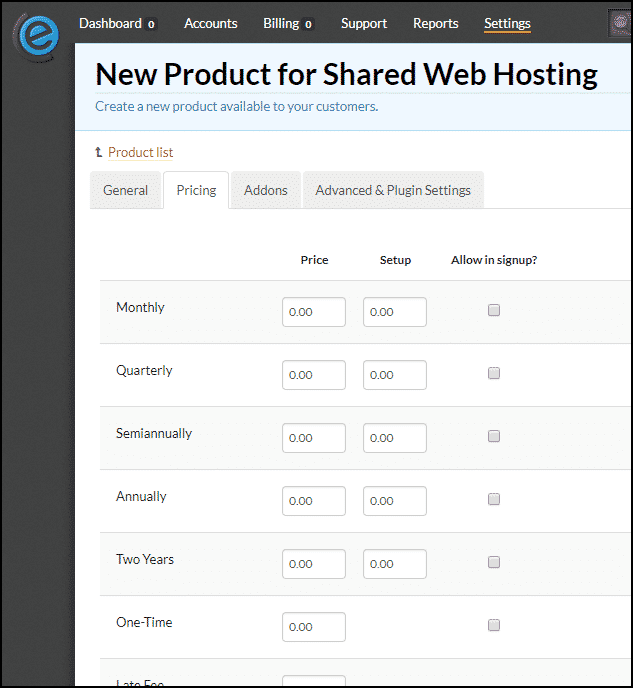
Pricing
Select the number of pricing options you would like to make available. There are several options, but at the least, you should set prices for the “Monthly,” “Quarterly,” and “Annually” options.
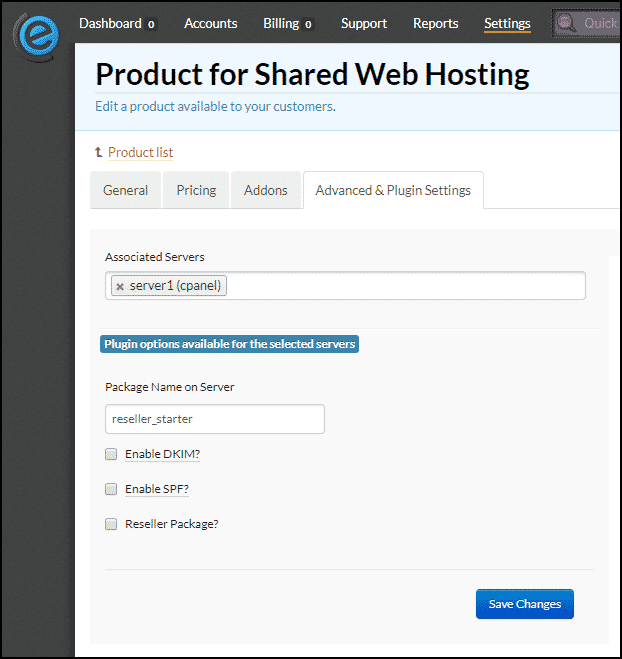
Advanced & Plugin Settings
To connect the account to your server, select a server that you have set up from the drop-down.
If you haven’t yet connected a server to Clientexec, here are the instructions for doing so.

Enter the name of the package you have created in WHM. The naming convention is your reseller username underscore package name. Click the “Save Changes” button.
The package is now set up, and you can see it in your package list.