This article will show you how to configure your eNom Reseller account with Clientexec at GreenGeeks.
This article will provide the basics to get you started. There are many available options and covering them all is beyond the scope of the article. We suggest consulting the Clientexec documentation for more detailed information.
To get your eNom account started, please open a ticket in GreenGeeks with the subject “eNom Reseller Request.”
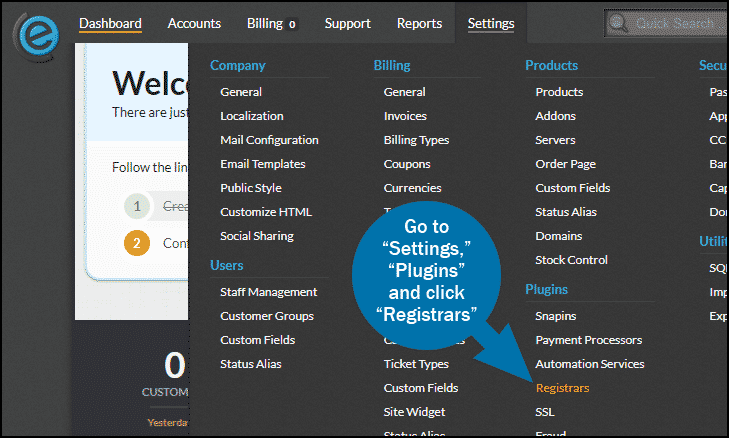
Once your eNom account has been created and you have a username and password, log in to Clientexec and go to “Settings,” “Plugins” and click “Registrars.”
On the “Registrars Plugins” page, select eNom from the drop-down, enter your eNom username and password and click the “Update Settings” button.

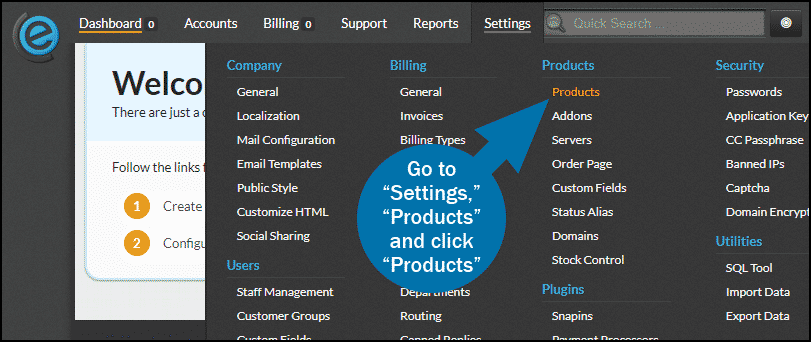
Go to “Settings,” “Products” and click “Products.”
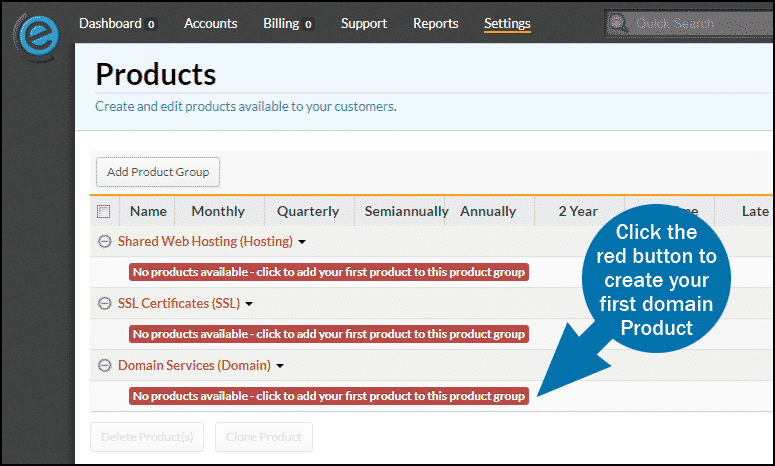
Click the red button under “Domain Services (Domain)” to create your first Product. (To add a domain Product after you have existing products, you will click the “Domain Services (Domain)” link, then click “Add New Product.”)
Complete the Domain Service information
TLD – the extension of the domain you wish to offer.
Signup Order – this will come into play when you have more than one TLD set up, then you’ll use it to determine in which order the TLDs are presented.
Welcome Email – choose the type of email that will be sent to the customer.
Checkboxes – you will want to check the boxes for “Show in signup form?” and “Send welcome email?” We do not recommend checking “Automatically Activate Package?” since you should check your initial domain registrations for fraud before processing them.
Click the “Save Changes” button.

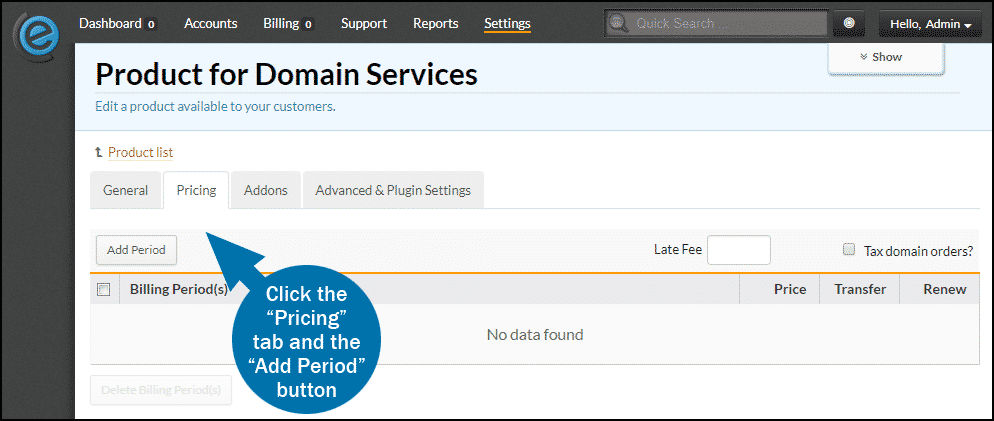
When the Domain Service is added, three new tabs will become visible: “Pricing,” “Addons,” and “Advanced & Plugin Settings.”
Pricing
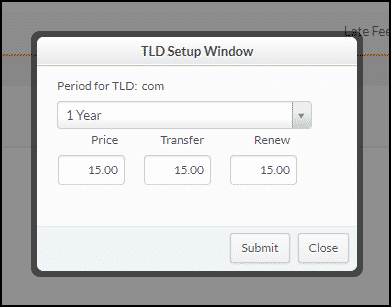
On the “Pricing” tab, click the “Add Period” button.
In the “TLD Setup Window” enter the prices for new domain registration (“Price”), transfer in (“Transfer”) and “Renew” for each period. Available Periods are One Time and 1 Year to 10 Years. Entering pricing for each period allows you to discount longer registration periods if you choose to do so.
Click the “Submit” button to save the pricing, and repeat for each registration period you wish to offer.
Click the “Advanced & Plugin Settings” tab.

Select “eNom” from the “Registrar Plugin” drop-down.
That’s it. You’ve added eNom to Clientexec. Now you can add a “Domain Service” for each TLD you’d like to offer your customers.