This article will show you how to install the Clientexec billing system in your GreenGeeks Reseller web hosting account.
The first step is to request the Clientexec License. Contact a member of our Support Staff by opening a ticket in GreenGeeks, let us know that you’d like to activate your Clientexec license and which domain name you would like to use it on.
Installing Clientexec
When you receive our response to your support ticket confirming that Clientexec has been provisioned, you can install the program.
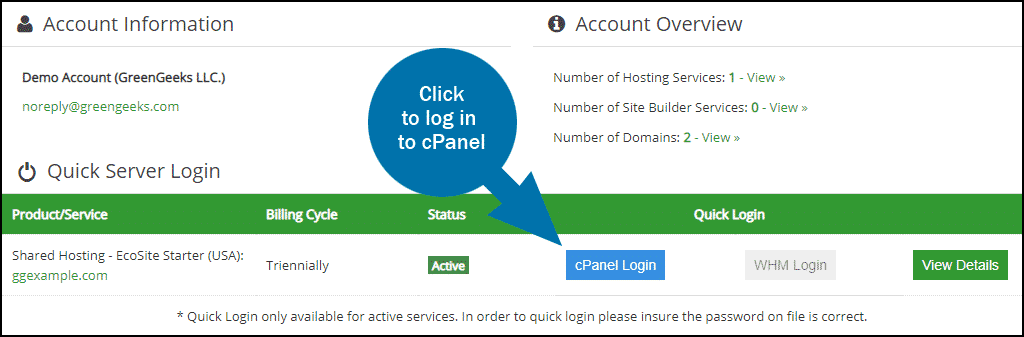
Log in to GreenGeeks and go to cPanel by clicking the “cPanel Login” button in the “Quick Server Login” section.
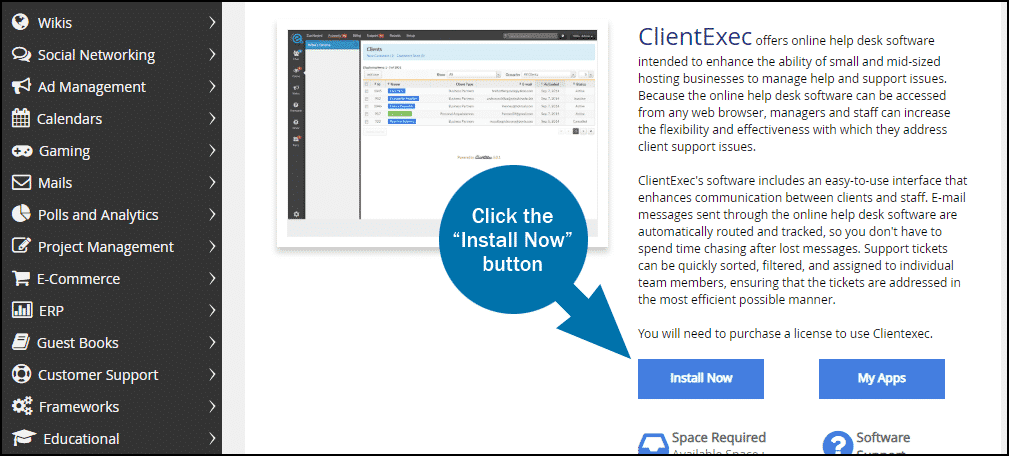
Scroll down to the “SOFTACULOUS APPS INSTALLER” section and click the “E-Commerce” icon or link (you may have to scroll side to side to get to the link).

Enter “Clientexec” in the search field and click the link that appears under “E-Commerce.”

Click the “Install Now” button.
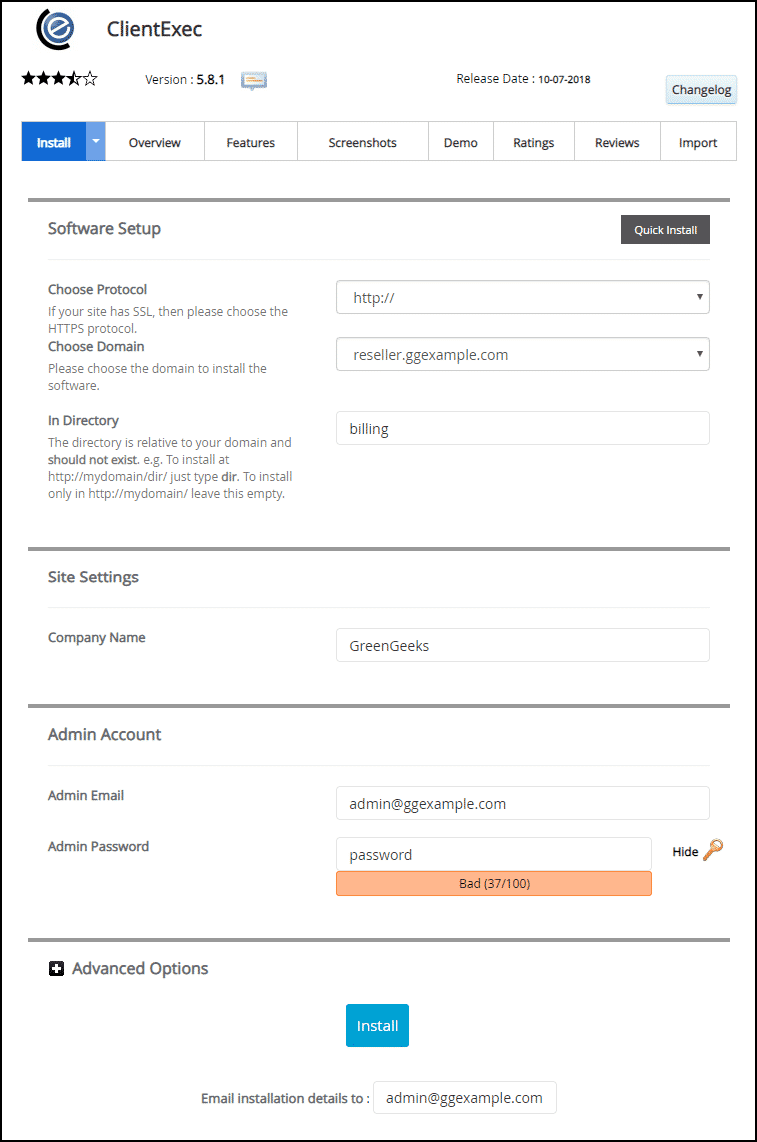
Complete the configuration for the installation.
- Choose Protocol – if you have installed an SSL certificate and configured your site to use HTTPS, choose that from the drop-down. Otherwise, choose HTTP.
- Choose Domain – the domain where you want to install Clientexec.
- In Directory – if you wish to install Clientexec in a directory such as “admin” or “billing,” enter the directory name here. The directory should not already exist. If it does, delete it before running the Clientexec installation.
- Company Name – the name that will be used throughout the Clientexec installation.
- Admin Email – the email used to log in to Clientexec.
- Admin Password – the password used to log in to Clientexec.
- Click the “Install” button (or click the “Advanced Options” link, see below)
Advanced Options:
- Database Name – limited to seven characters.
- Disable Update Notifications Emails – controls whether you receive email notifications of available updates to the software.
- Auto Upgrade – controls whether the software is automatically upgraded when updates are available.
- Backup Location – Softaculous can back up the Clientexec installation inside your reseller account, this controls where those backups are stored.
- Automated backups – if you choose to make automated backups, the files will be added to a location in your account, so be aware that this option can significantly increase your disc space usage.
- Backup Rotation – controls how many different versions of the backup files can be retained.
- Click the “Install” button.

If everything goes according to plan after you click the “Install” button, you will see a “Congratulations, the software was installed successfully” message. Click the “Administrative URL” link in that message and log in using the Admin Email and Admin Password you specified in the setup and click the “Sign In” button.

You should now be logged in successfully.
There will be a couple of other configuration requirements once you’ve logged in, “Create Products,” and “Configure Payment Plugin.”

Here is an article that will help you create products.
Configuring a payment plugin can be an involved process, so we refer you to the Clientexec tutorials for further information.