The Addon Domain function in cPanel allows you to host additional domains on your GreenGeeks account. Each Addon domain appears as a separate web site to your visitors.
When setting up an Addon domain, you must be able to change the name server settings for that domain to use GreenGeeks’ name servers.
The website files for Addon domains are located in sub-folders under your public_html folder. You must upload the Addon domain website files to the sub-folder in order for the Addon domain to work.
Method 1: To set up an Addon domain in GreenGeeks Dashboard
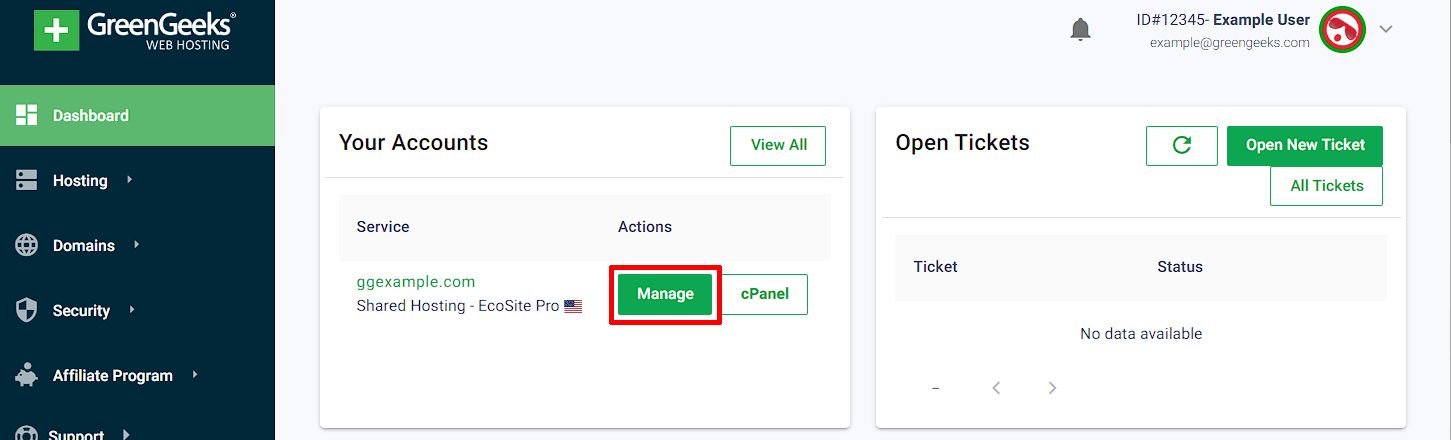
To set up an Addon Domain to the GreenGeeks Dashboard, click on the Manage button next to your hosting service, on the Dashboard Homepage, or the Hosting page.
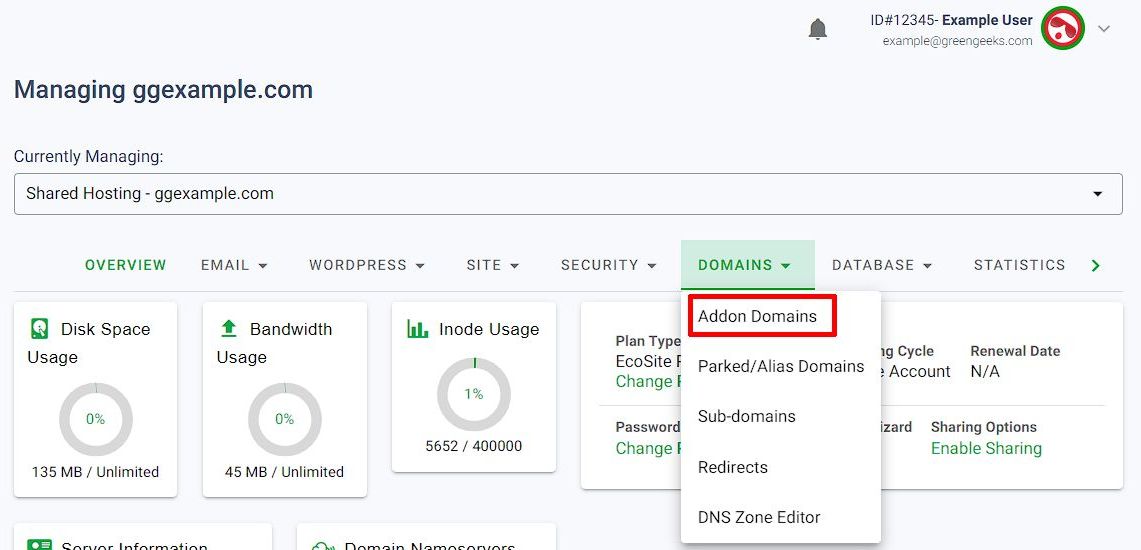
On the Hosting Management page, select the Domains drop-down menu tab & click the Addon Domains button
Enter the new Addon Domain in the New Domain Name field, and then click Add Domain.
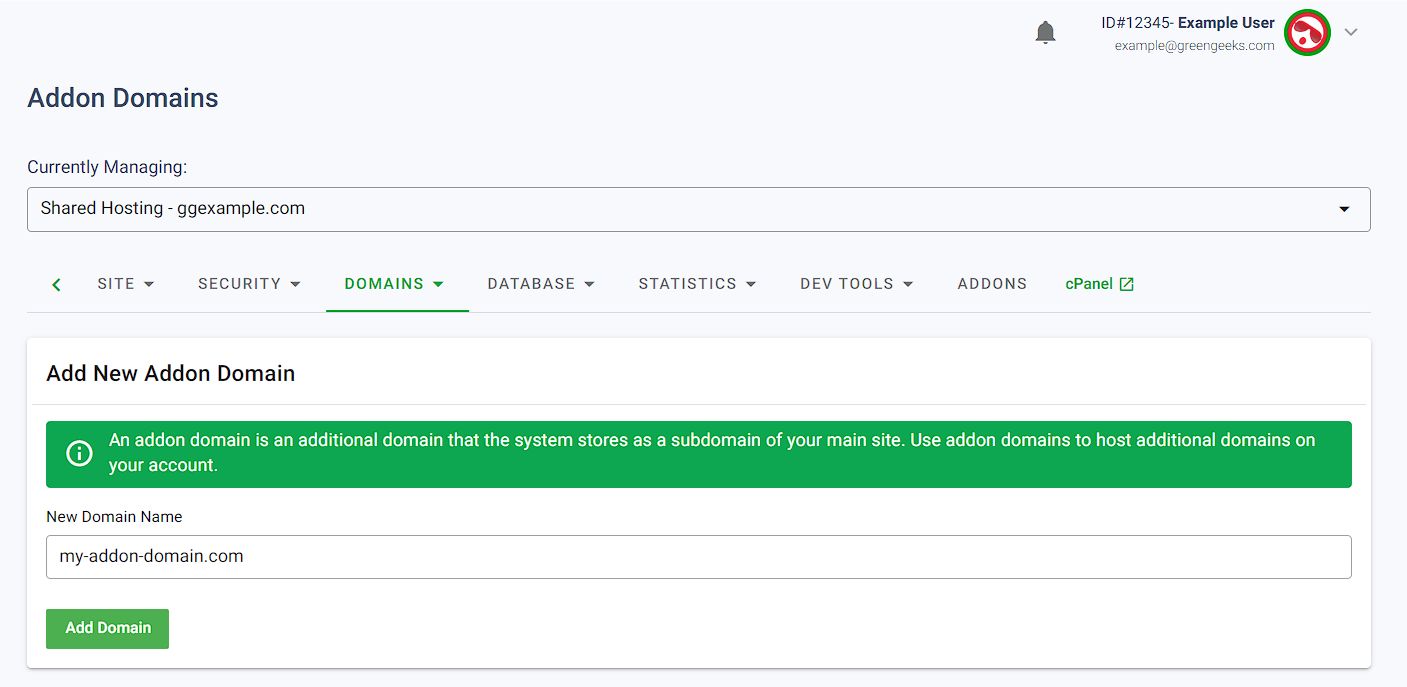
It may take 90-120 seconds for the new Addon Domain to be added.
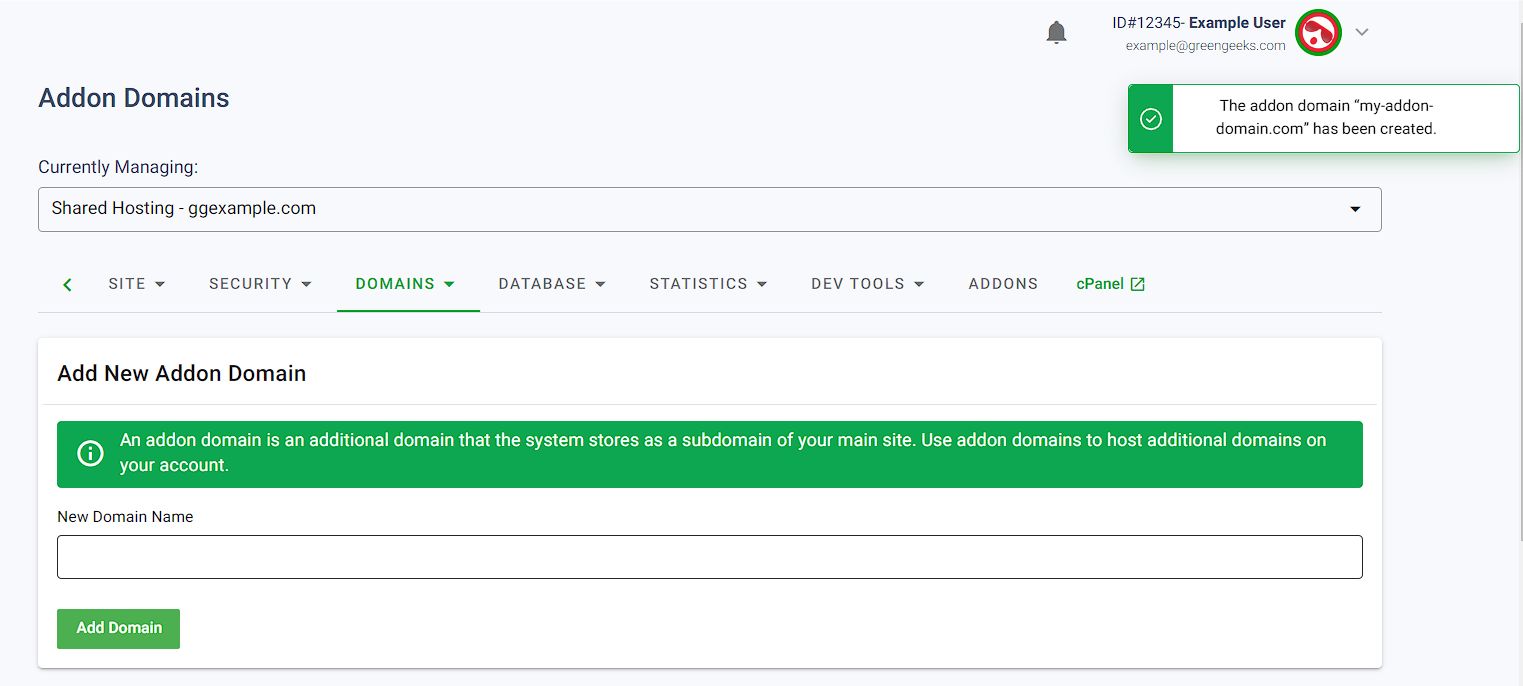
Once the domain has been added, a confirmation notification will be shown, and the domain will be listed in the Manage Addon Domains table.
Method 2: To set up an Addon domain in cPanel
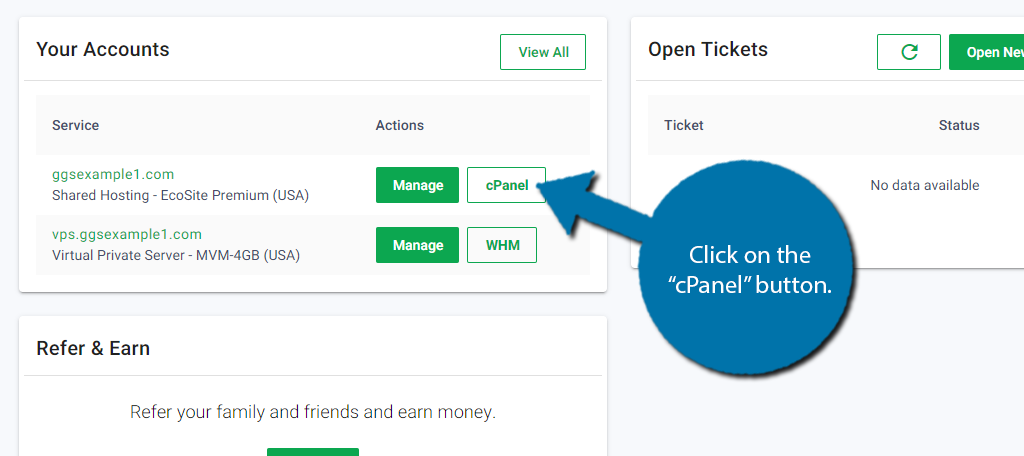
Inside of the GreenGeeks Dashboard, click on the green “cPanel” button to jump directly into cPanel and get access to the Domain Manager.
In cPanel, locate the section titled “Domains” and click on the “Domains” icon to enter the cPanel Domain Manager.
![]()
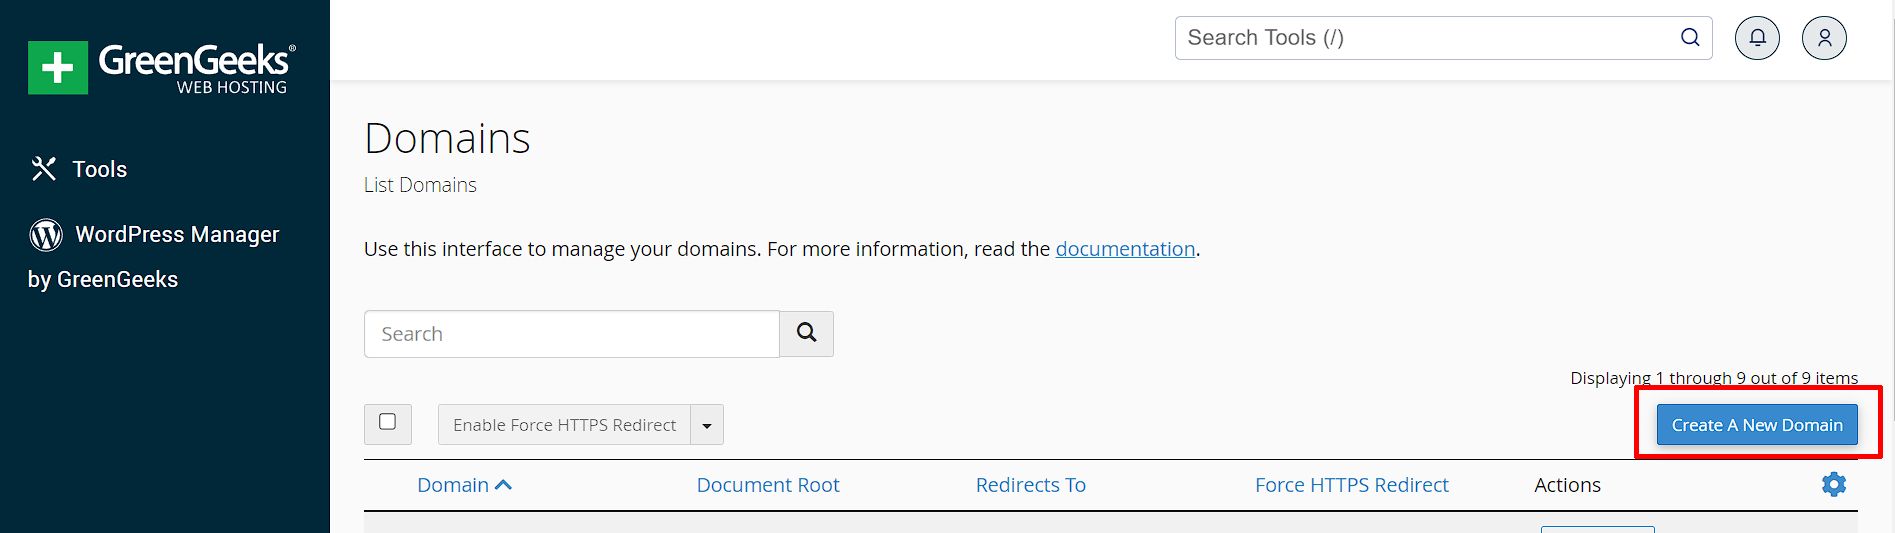
On the Domains page, click on the Create a New Domain button to add a new Addon Domain.
On the new domain page, enter the new domain name in the Domain field.
Deselect the “Share document root” check box.

Double-check the information is accurate & the “Share document root” option is not checked.
Click Submit to create the new addon domain in cPanel.

It will take 60-120 seconds for the addon domain creation process to finish.
Once the addon domain has been created, you’ll be redirected to the Domains page and a Success notification will be shown indicating the domain name + the document root path.
Using an Addon domain
Once the Addon domain name has been added, either in cPanel or the GreenGeeks Dashboard, you can FTP to the “Document Root” folder and upload your web site files. Alternately you can use the cPanel File Manager to upload files.
The document root will be set to ~/public_html/addon-domain.com/ by default. You can change this from the Domain management page in cPanel by clicking the Manage button next to the domain.
Note no FTP account will be created when setting up an addon domain; if you want an FTP account specifically restricted to the addon domain folder, create a new FTP Account in cPanel.
Exactly when the Addon domain website will be available to visitors depends on when you changed the Addon domain name servers to point to the GreenGeeks name servers.
DNS changes take a bit of time to propagate throughout the internet, and that time period varies depending on a number of factors but in typical cases, DNS changes shouldn’t take more than 4-6 hours to propagate.
Email for an Addon domain
Email accounts for the Addon domain can be set up in cPanel. Email account set up instructions can be found here. The Addon domain will be an option in the drop-down menu.
If you have any questions or run into any problems, please contact a member of our Support Staff by opening a ticket in the GreenGeeks Account Manager.